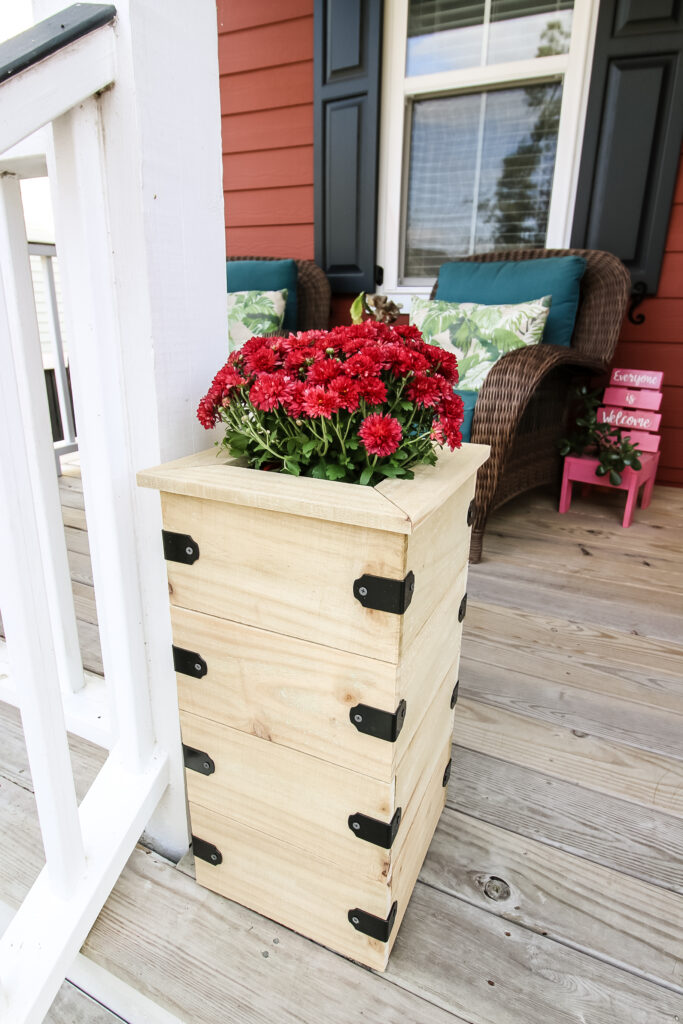
This project will show you how to build a simple DIY planter box that is perfect for your annual flowers. Build a pair to grace your front door and swap out plants all year!
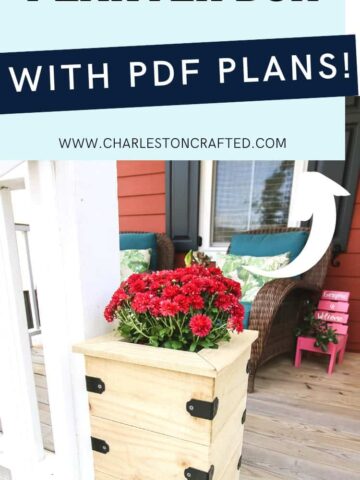
There's really no such thing as too many plants, right?
This time of year, it's very tempting to grab a new, beautiful annual flower every time you go to Home Depot or Lowe's because spring is here and everything just looks so much better with color.
But you may realize you need an attractive place to put that beautiful flower! Sure, you can plant them in the ground or put them in a plastic pot, but what if you had a planter box that would really show them off to the world?
We designed this simple DIY planter box to sit at the top of our stairs to our front door and made one for each side. Now we have beautiful seasonal flowers and plants all year long greeting us when we get home!
The best part about these simple DIY planter boxes is that they are super cheap to make because they are made with fence pickets! Let's dive in and show you how.
Check out these herb planters that sit on your railing and are also made with pickets!
Simple planter box made with fence pickets
Our simple planter box is budget-friendly because it is made with fence pickets you can grab at any hardware store.
Lumber prices are still at an all-time high, but fence pickets were really not impacted much in this spike. Right now, these fence pickets are only $1.98! That's a great deal for a project.
Building a wooden planter for under $10 is a steal and so much better than what you can buy pre-made at the store.
Basic woodworking information for every project
Here are some of our most popular woodworking articles!
Shopping for wood:
Woodworking project ideas
- 100+ of the best woodworking project ideas!
- 62 easy beginning woodworking projects
- Woodworking project ideas to make and sell
See all our printable PDF woodworking plans!
Our favorite tools + supplies
- See all our favorite tool reviews
- How to use a Kreg jig
- The ultimate wood stain guide
- The best wood fillers for your project
Remember to also always use safety equipment while woodworking and using tools. Make sure you have proper eye protection, ear protection and a good mask to keep yourself safe.
How to build a simple DIY planter box
Let's go over the general steps for how to build this simple DIY planter box and show you what you need to do, but make sure you grab the FREE woodworking plans to get the full details! The planter box plans will have the cut list you need to get started!
Materials and tools needed:
Check out these oversized planter boxes also made with fence pickets!
Step one: Build front and back panels
Start by building a front panel by attaching two legs to the inside of four slats. These are held together with wood glue and brad nails.
The legs are inset from the edges with the exact width of a picket, so use one as a spacer when attaching the legs.
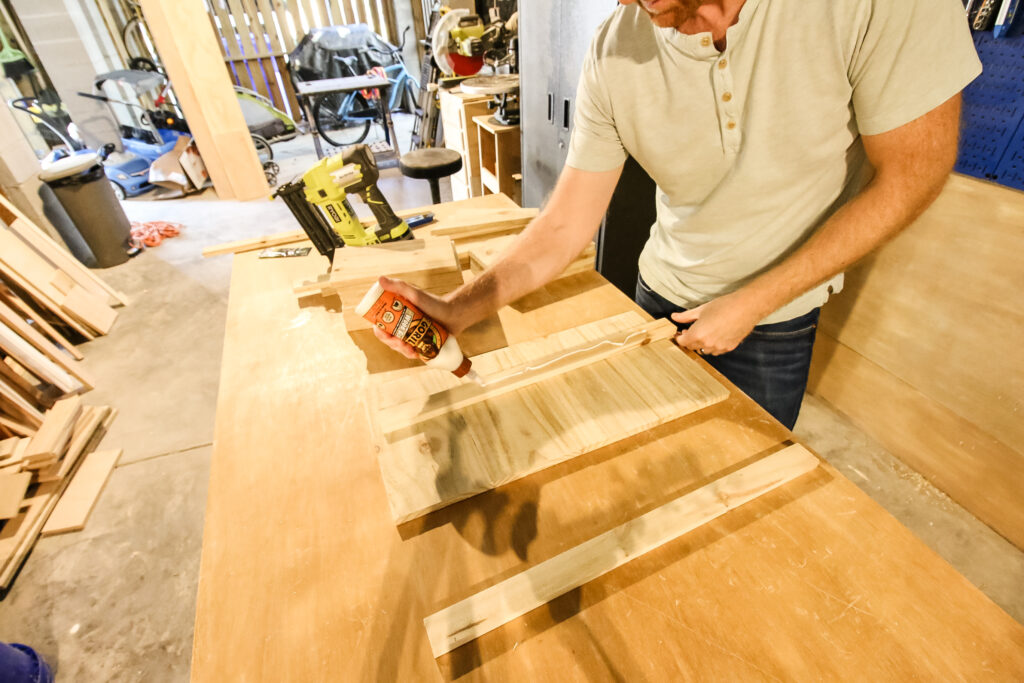
Repeat to make a back panel in the same way.
Step two: Attach sides to back panel
Next, attach four slats as sides to the back panel. This is where those grooves come into play.
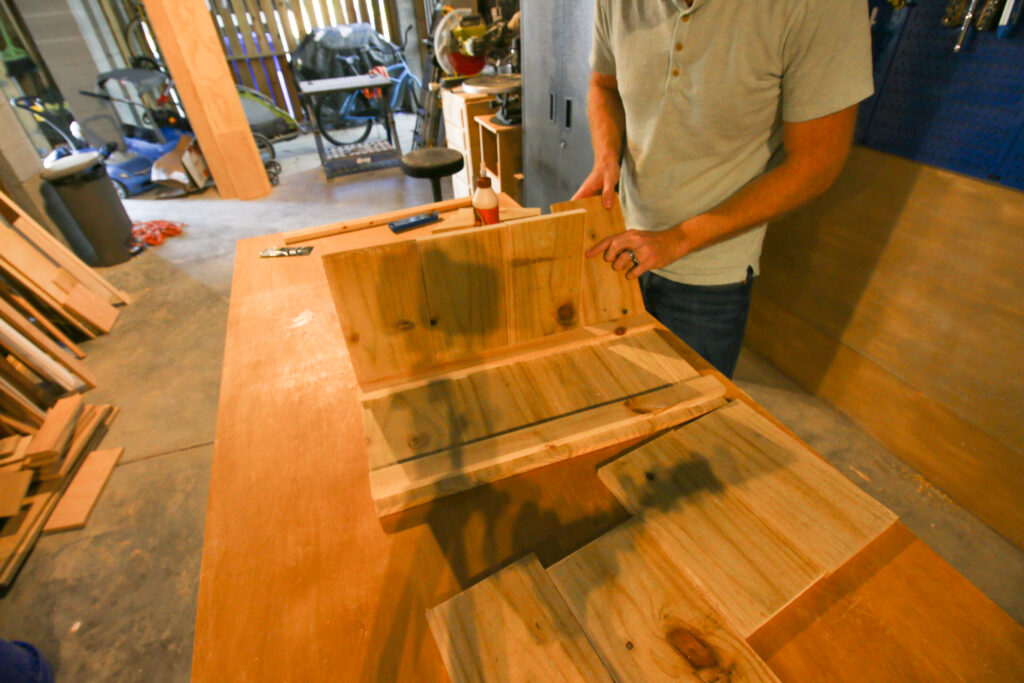
Each of the slats for the sides fits in line with the slats on the back panel, but inside the groove so that you have a flush edge at the corner.
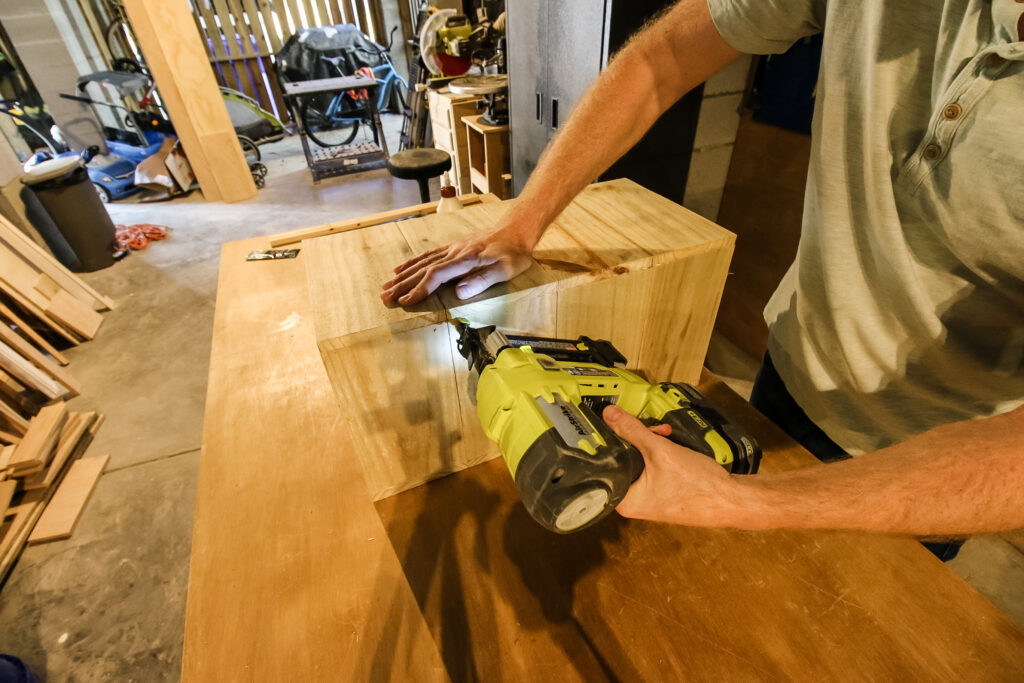
Use wood glue and nails to attach the sides through the back panel.
Step three: Attach front panel to sides
Once you have all the side pieces in place, attach the front panel to the sides in the exact same way.
Step four: Add top lips and inner shelf
The top lips are a decorative touch to give your planter box a finished look. These are mitered at the corners and give you a flat top edge.
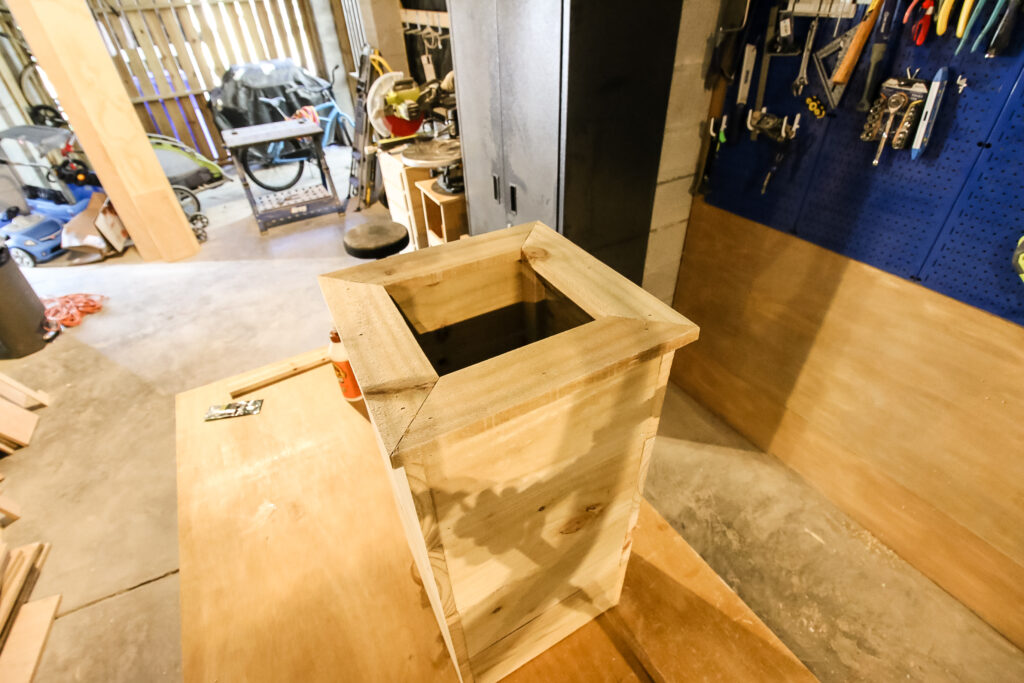
The inner shelf is also very important to this planter. As you can see, it is otherwise hollow.
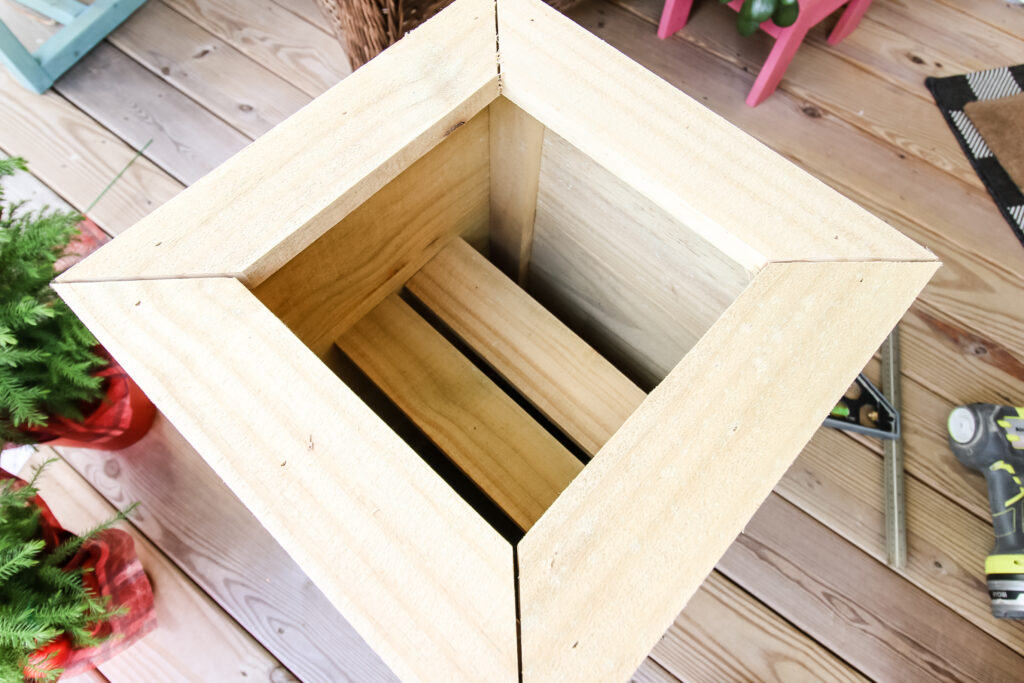
Determine the pot you will be using inside the planter and then mark the location of the bottom of the pot where it is on the sides. Then, attach the shelf strips with nails from the outside for the pot to rest on.
Step five: Install decorative hardware
Finally, we attached decorative corner braces to each level on each corner, so 16 braces total. These little braces just add a finished and classy look to the planter.
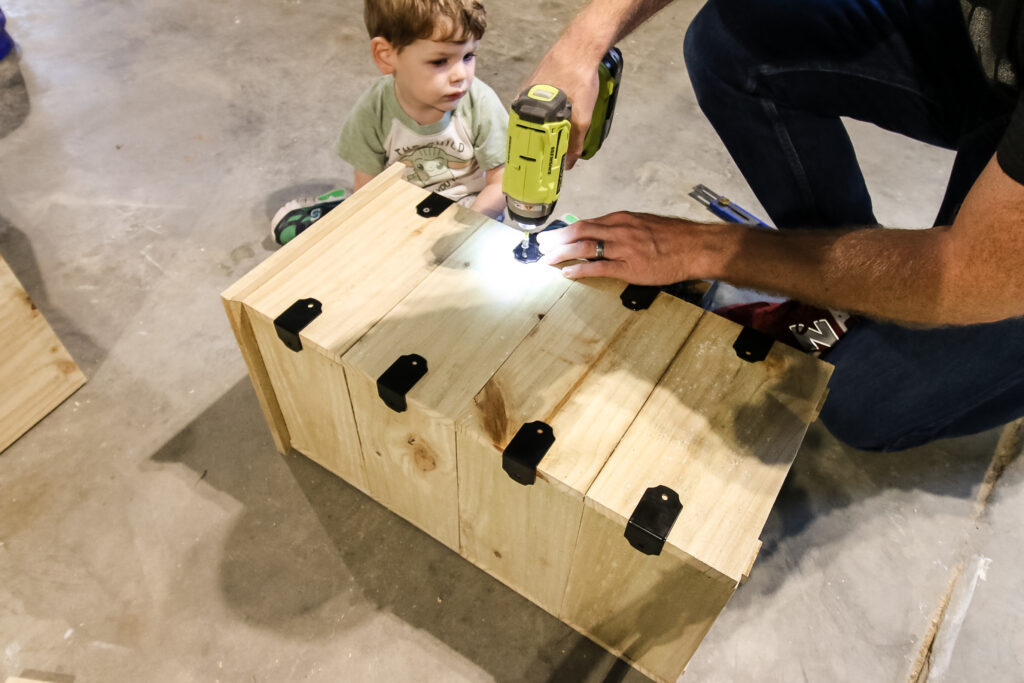
Decorative hardware looks great on a raised bed garden too!
Step six: Show off your plants
Fill up your planter box with flowers! Go buy those beautiful annuals and show them off as you and your guests come to the door!
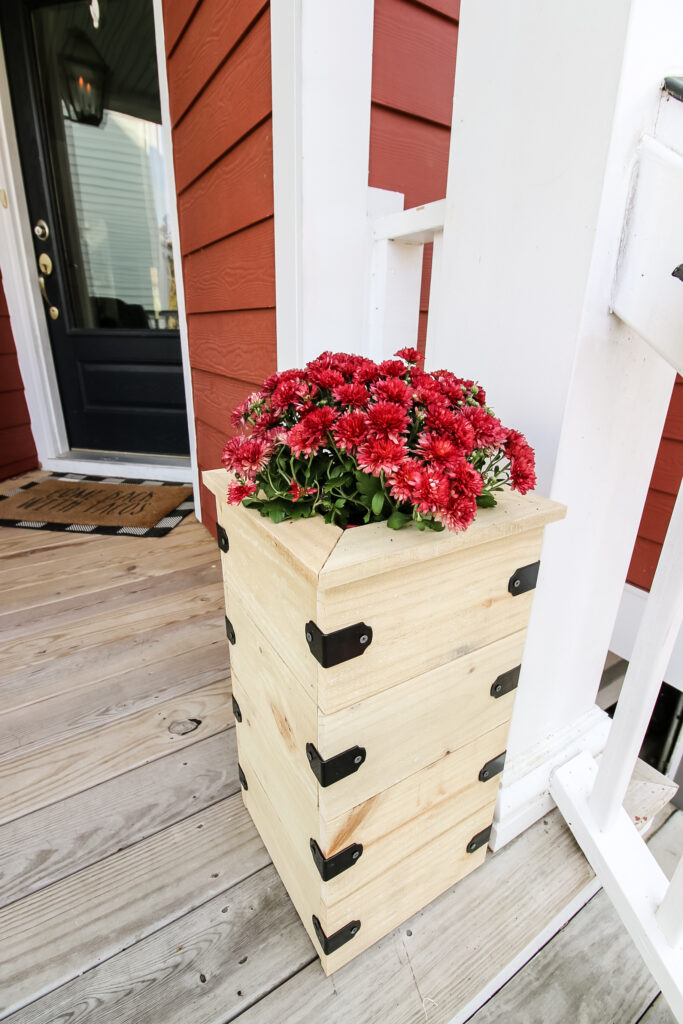
This simple DIY planter box is perfect because you can easily swap out the plants and flower throughout the year as the weather changes.
Simple DIY planter box woodworking plans
If you like this simple DIY planter box and want to build one yourself, you can grab the woodworking plans to make one (or two!) for yourself!
The woodworking plans include a full material list, cut list and step-by-step instructions with computer model imagery to help you get through the entire process!
Is it cheaper to build your own planter box?
Yes! It is much cheaper to build your own planter box than buying one. Obviously, there are several factors at play, depending on the size and specifics you want, but our simple DIY planter box can be made for less than $10.
These flower boxes from Home Depot are similar and cost $86!
What wood to use for a DIY planter box
The most budget-friendly option for building a DIY planter box is to use fence pickets. These are only a couple dollars each. They are made to be outdoors and will last a long time.
You can also use naturally rot-resistant wood, such as cedar or cypress, but those boards will cost about 10 times as much. You can also use regular untreated wood, such as pine boards, and coat them with an outdoor sealant, but again, these boards cost about 5 times as much and you need to buy sealant.
Check out this ladder plant stand we made for inside our home using cypress!
You can also use pressure-treated wood boards, but those will be thicker and won't be as sleek looking. Fence pickets are also pressure treated wood and will hold up over time.
Do planter boxes need drainage holes?
Yes, planter boxes need drainage holes just like any pot. It is important to give your plants water, but you don't want excess water to build up within the planter box or you risk your plants getting root rot.
Our simple DIY planter box is open on the bottom, so it doesn't need additional holes, but a regular planter box should have holes in the bottom. If not, simply drill drainage holes in the bottom of your planter to help your plant's roots.
Looking for something?
We've been doing this since 2012 so we have a LOT of blog posts!
Search stuff like: Ceiling Projects | DIY Plant Stands | Thrift Flips


Hey there, I'm Sean, the woodworking enthusiast and builder behind CharlestonCrafted.com! Since 2012, I've been sharing the magic of turning raw materials into beautiful creations. I love teaching others the art and satisfaction of woodworking and DIY. I try to inspire fellow crafters to make something extraordinary out of nothing at all.


