Want to add a cabinet trash can to your kitchen? Here's how to DIY it!
Last week, we told you about how we turned one of our old upper cabinets into open shelving on the end of our kitchen island. That was mostly to make our island bigger and add to our aesthetics.
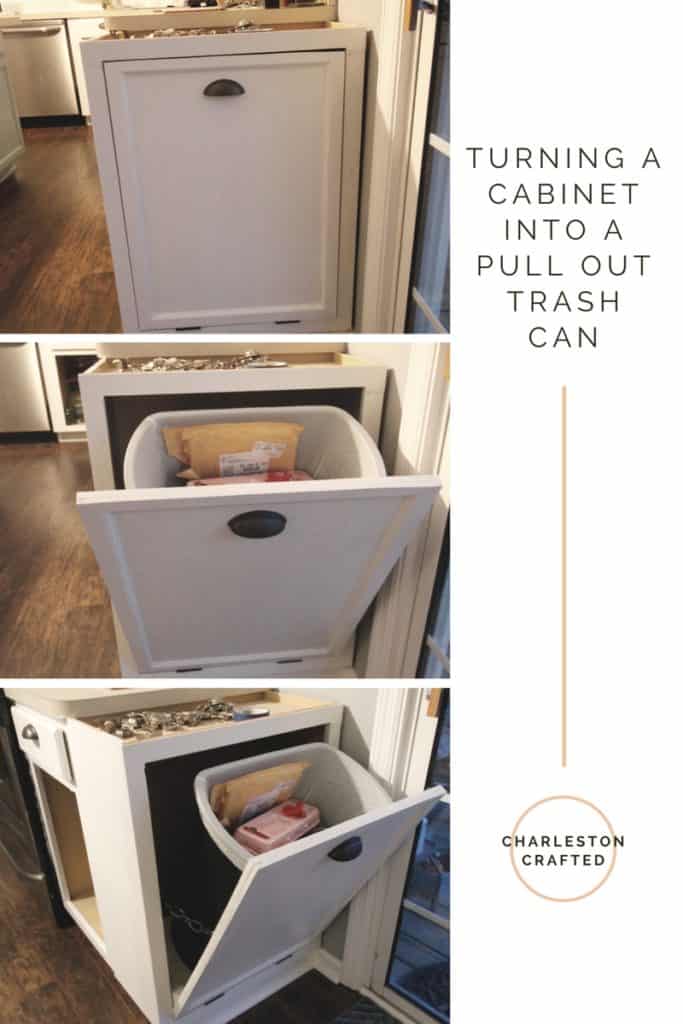
Today's transformation is 100% for functionality. We turned the second cabinet into a pull out trash can!
Click here to pin this project to your Pinterest board.
DIY Kitchen Cabinet Tilt-Out Trash Can
We've been having a problem lately with our dog getting into our trash can. Even though it's locked. Even though it's attached to the cabinet with a hook. Ugghh. I digress.
How to turn a cabinet into a tilt-out trash can
So, we needed a hidden trash can. I started building this the same way we did the open shelving, by cutting off the top, cutting the rest down to size and reattaching the top to the main section with wood glue and caulk.
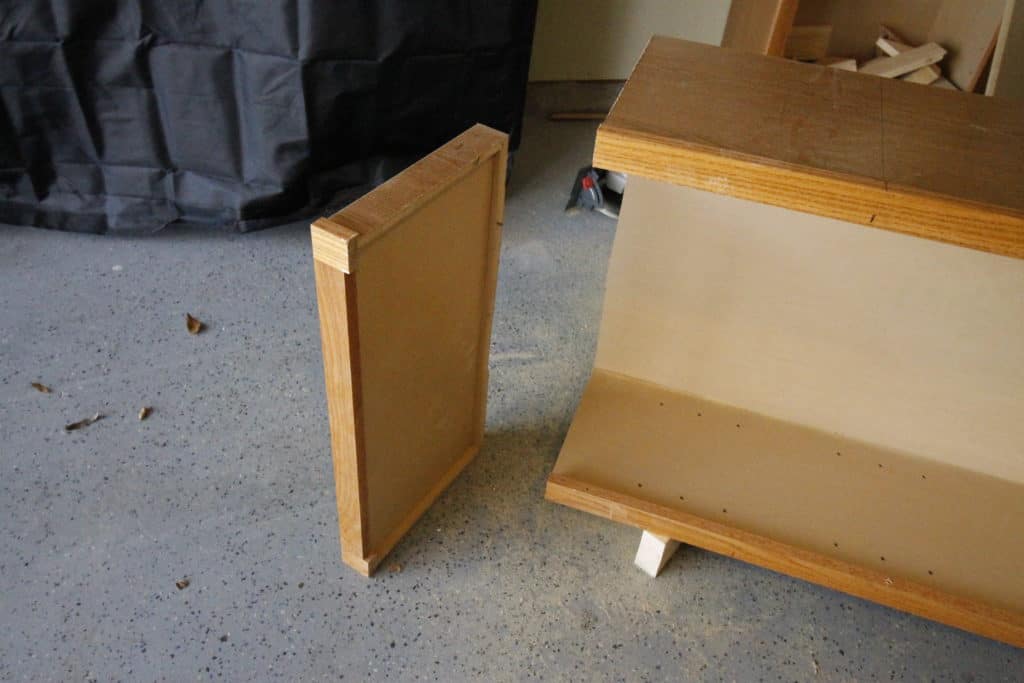
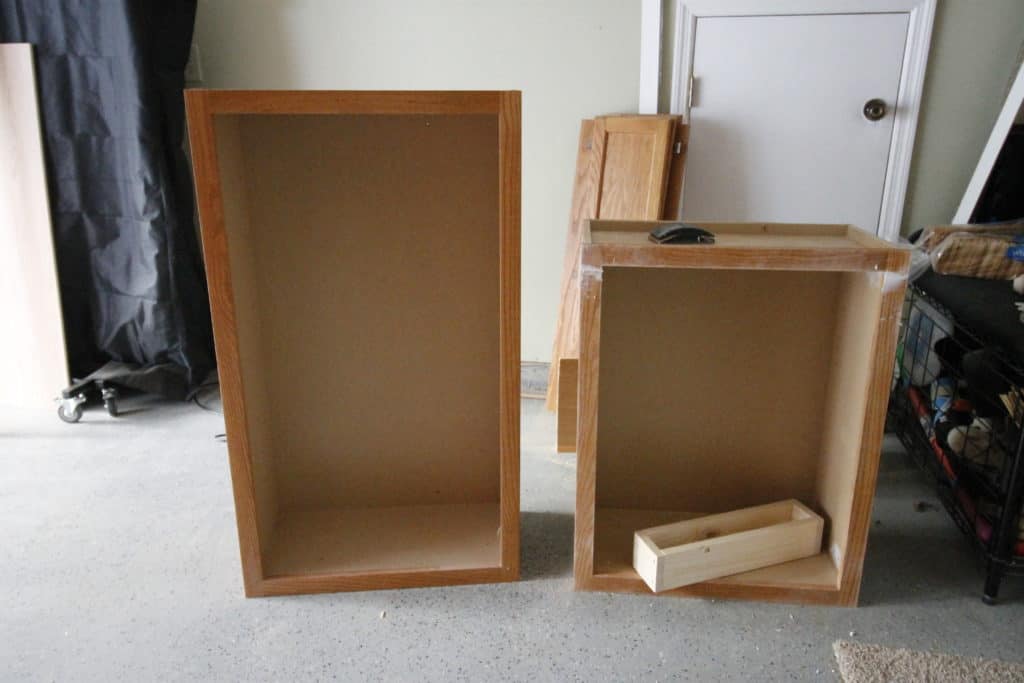
For this, I had to build the recessed base again, but I extended it out further this time and didn't add decorative legs because we just wanted it to look like the rest of the cabinets. Again, I had to use a flat board to wedge between the new base and the cabinet in order to make up for the gap.
We needed a way to pull the trash can out. I looked into sliding bases, but these are built to put your trash can in long ways and slide out with the thinner side first. We had to use the wide side out because we were using a cabinet. So, we decided to do a tilt out style.
Step one: build a base
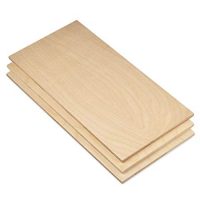
We bought one piece of oak board to match the rest of the cabinets and cut it into two pieces.
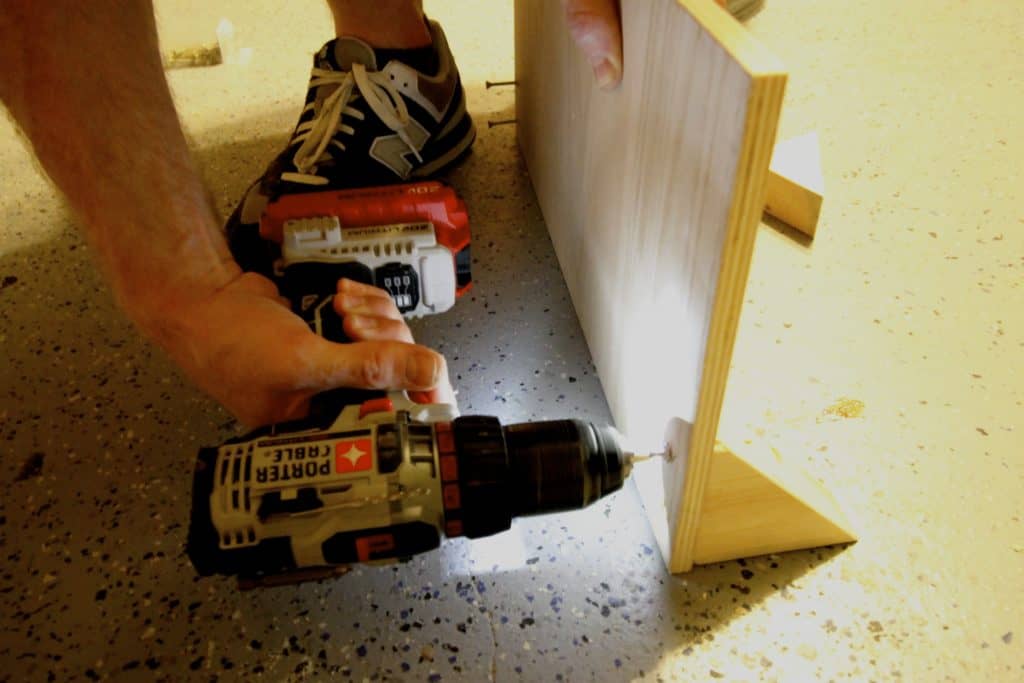
I cut a board the same width as the opening (minus ½") and 10" deep, which is slightly shorter than the depth of the cabinet. Then I attached them with two screws and two triangular cuts of 2x4s to form the door and base that the trash can would sit on.
Step two: attach door face
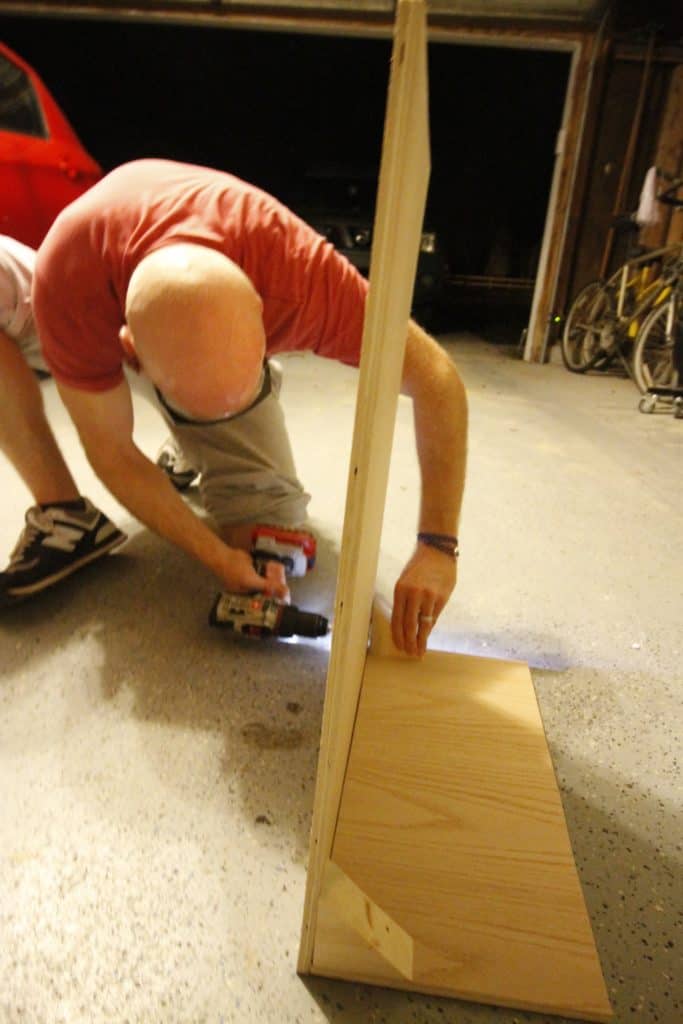
The front door piece was ⅛" smaller on all four sides than the gap we had on the front of the cabinet so that it would pull in and out. This we attached to the base we built in step one.
Step three: add decorative trim
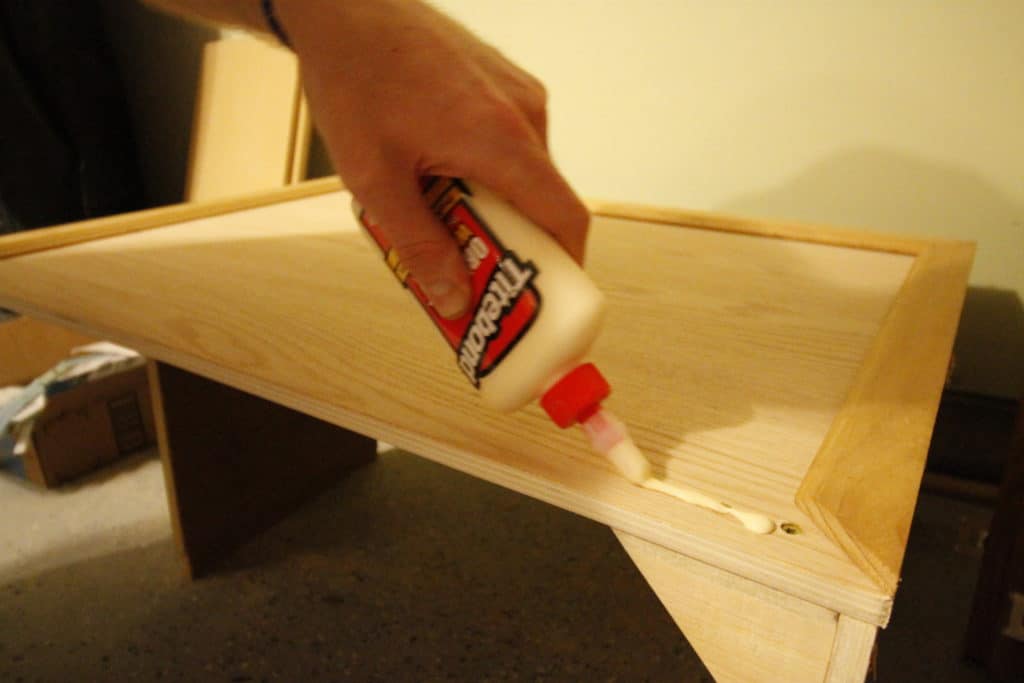
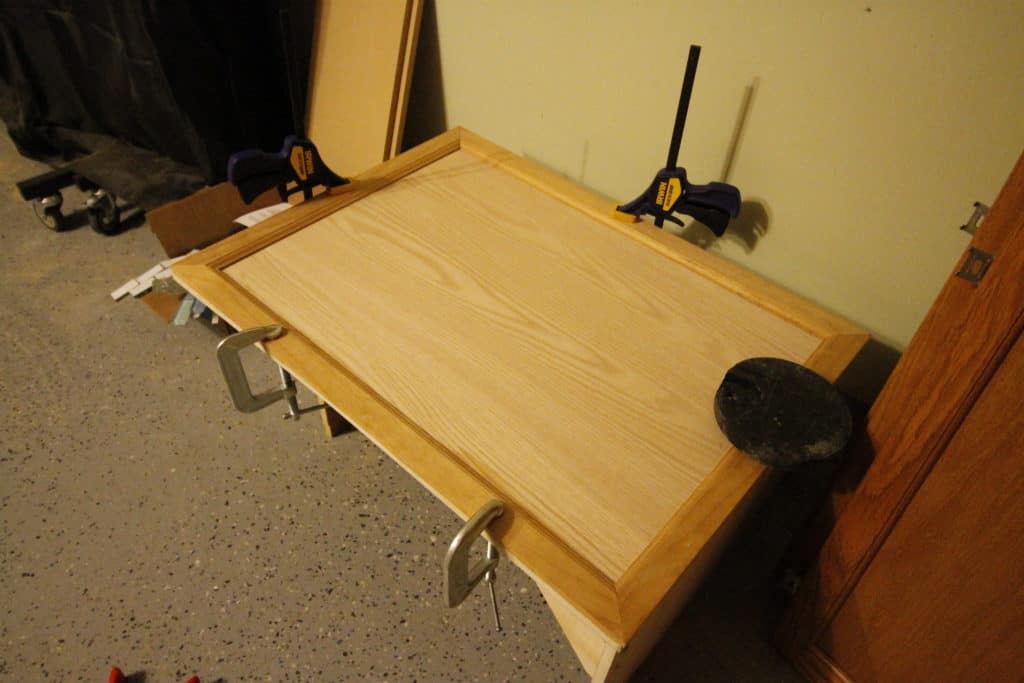
The last step to building the door was adding a bit of trim to the outside, also to match the rest of the cabinets.
This piece of wood was literally something that the previous owners had left in the garage, so it was great to be able to find a use for it.
Step four: add hardware
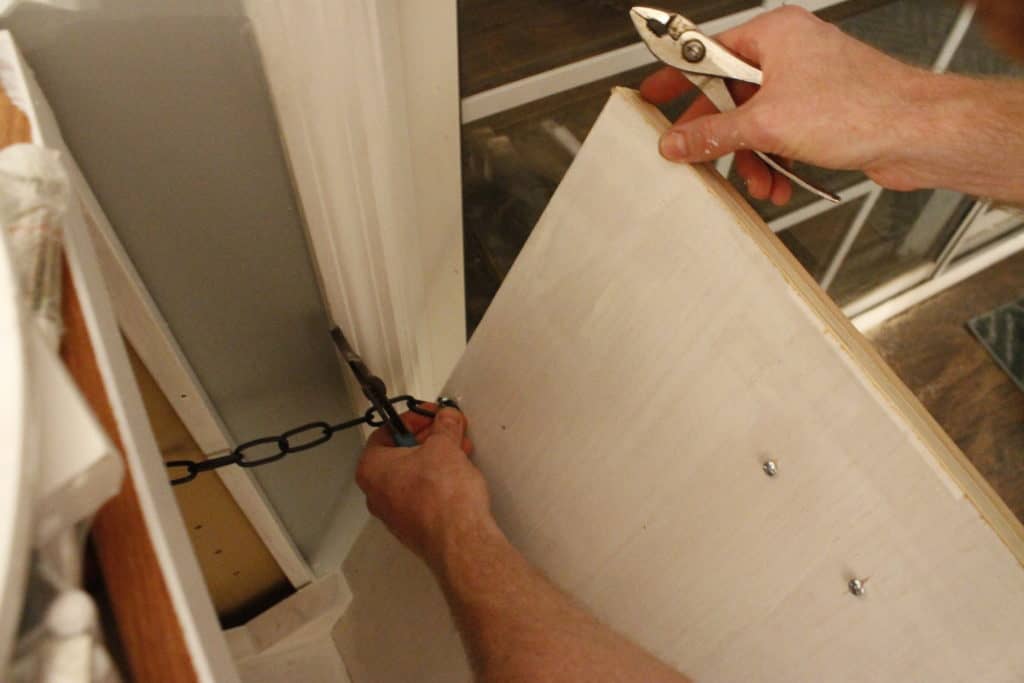
Finally came the hardware. The door tilts out using two hinges on the bottom and two chains to keep it from going too far out.
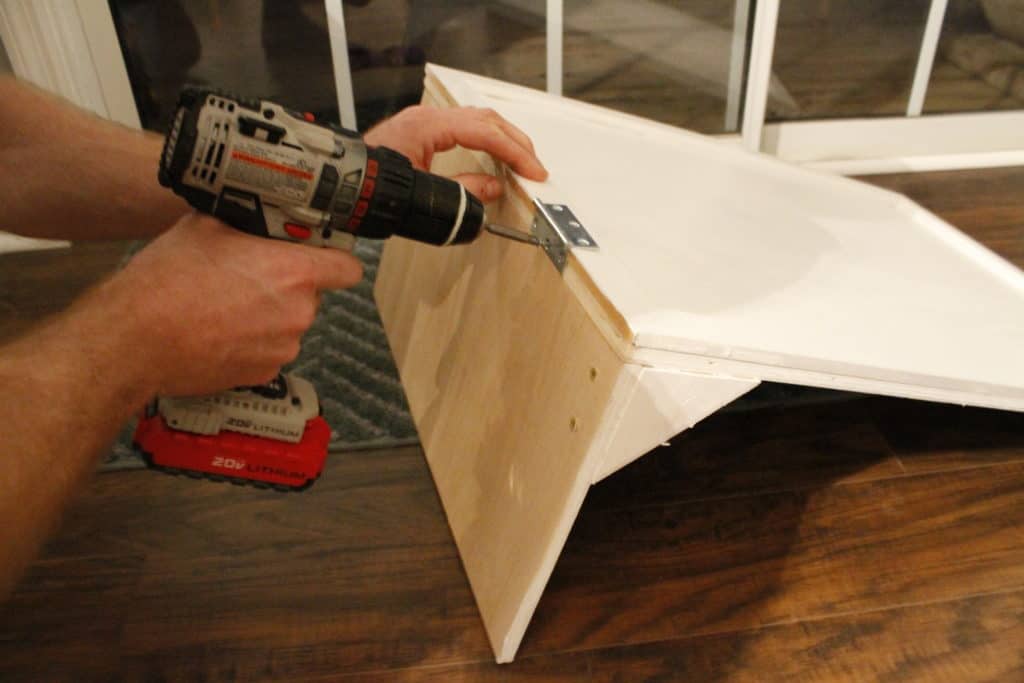
We painted the pull out trash can white to match what we were painting all the other cabinets and added a pull handle.
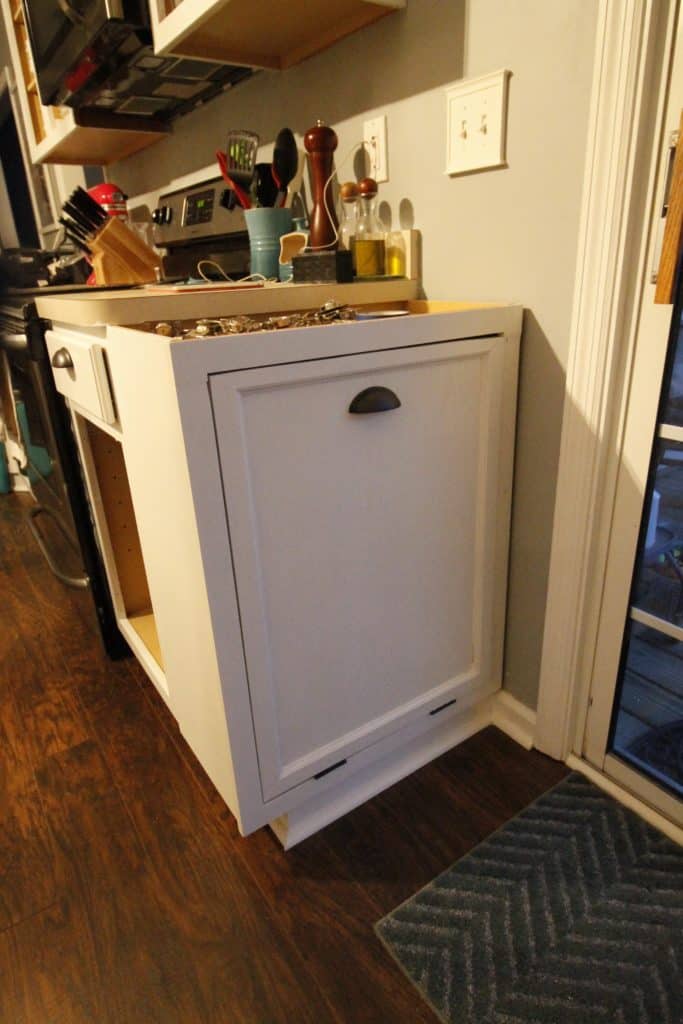
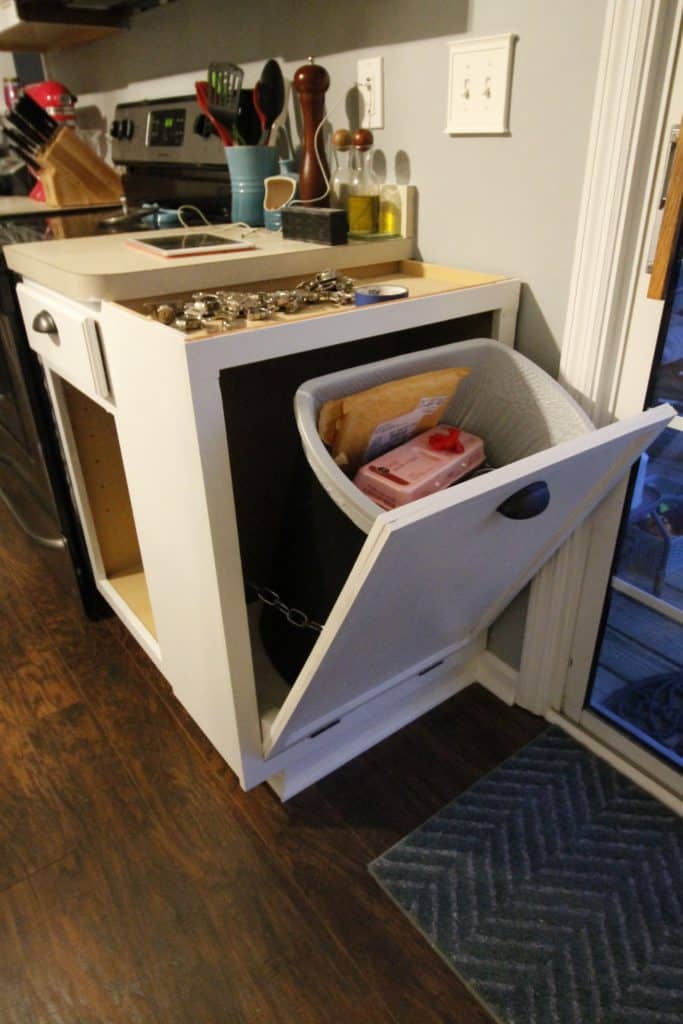
In the end, we're so happy with it! It looks fantastic and we were able to turn two old cabinets into two useful additions to our kitchen. Now we just need to get our new counters on so that we can see the whole thing come together!
Here's how easy it is to add soft close to existing cabinets.
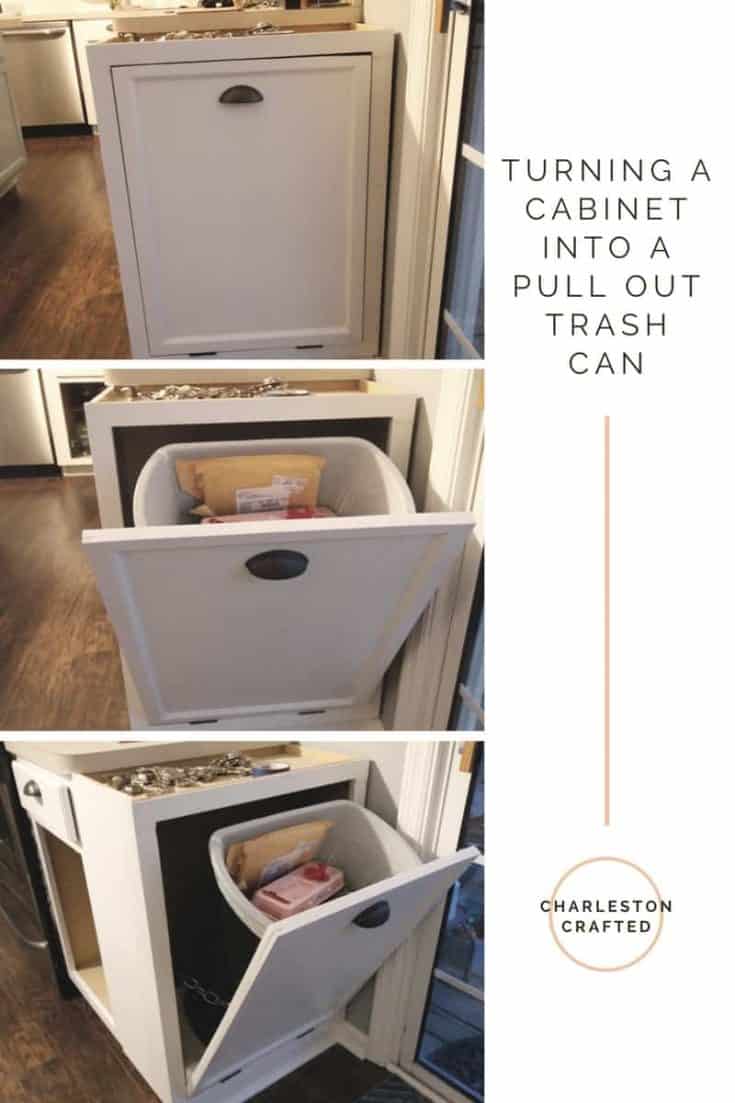
Turning a Cabinet into a Pull Out Trash Can Cabinet
It's easy to hide your kitchen trash can inside a kitchen cabinet. Here is how to turn a regular kitchen cabinet into a DIY tilt out pull out kitchen cabinet trash can.
Materials
- Kitchen cabinet
- Plywood
- 2x4
- Trim to match other cabinets
- Wood glue
- 2x hinges
- 10" of chain
- 2x eye hooks
- Paint + brush
Tools
- Drill
- Circular saw or table saw
Instructions
- Remove door from cabinet.
- Cut plywood to ⅛" smaller on each side than the gap on the front of the cabinet.
- Cut another section of plywood the same width and 10″ deep, or slightly shorter than the depth of the cabinet.
- Attach them with two screws and two triangular cuts of 2x4s to form the door and base that the trash can would sit on.
- Use wood glue to attach trim to the front of the board to mimic trim on other cabinets.
- Add 2 hinges to the bottom of the L shaped door and then to the cabinet.
- Add chain to the cabinet using eye hooks so it can't open too wide.
- Paint cabinet (if desired)
- Add knob or pull to cabinet (if desired)
- Screw into place with other cabinets. You may need to create a small base using scrap lumber and/or quarter round. Just mimic whatever your other cabinets have for a seamless look!
Recommended Products
As an Amazon Associate and member of other affiliate programs, I earn from qualifying purchases.
Be sure to click over and see the results of our DIY coastal kitchen makeover!
Looking for something?
We've been doing this since 2012 so we have a LOT of blog posts!
Search stuff like: Ceiling Projects | DIY Plant Stands | Thrift Flips


Hey there, I'm Sean, the woodworking enthusiast and builder behind CharlestonCrafted.com! Since 2012, I've been sharing the magic of turning raw materials into beautiful creations. I love teaching others the art and satisfaction of woodworking and DIY. I try to inspire fellow crafters to make something extraordinary out of nothing at all.


