Want to update your ceiling fan without replacing it? Here are some easy ideas to make them more stylish!
If you read a lot of DIY or decorating blogs you probably know that most design-minded people hate two types of lights - the boob light and the ceiling fan.
I think that every single light in our new house was a boob light or a ceiling fan, and while we are working to replace a lot of them, some are going to stay.
The thing is, I don't know how you can sleep in the south without a fan! Yes, we have AC, but sometimes (like right about now) you need that cool breeze at night.
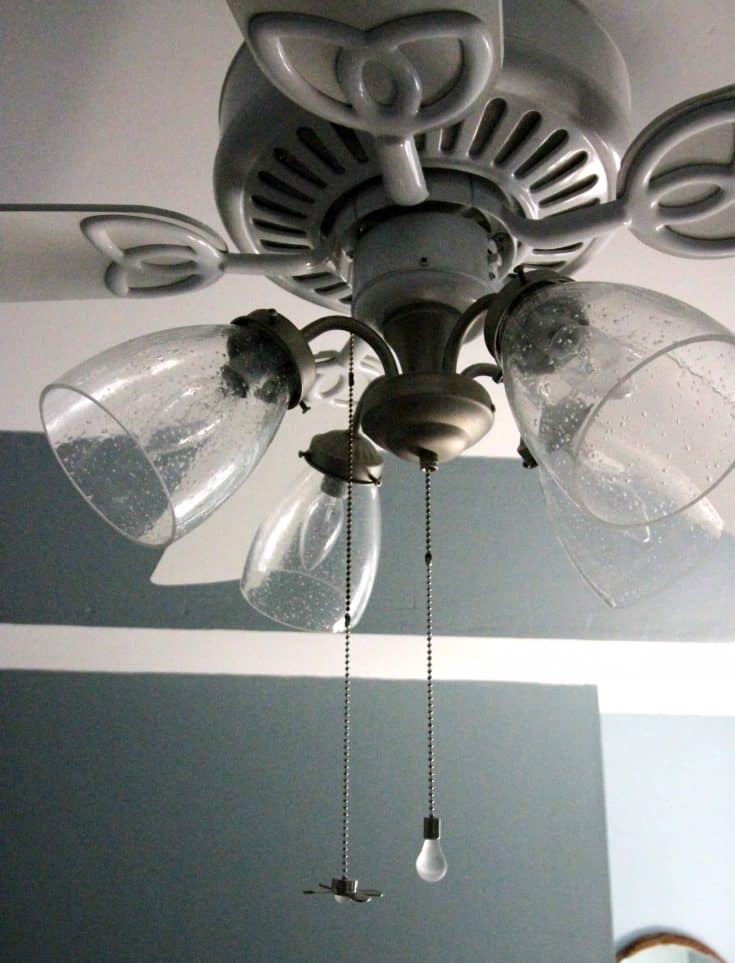
Some of the fans in the house need to eventually be replaced - a lot of them don't have light kits, which just isn't practical. However, the one in our bedroom really isn't that bad. It works, has 4 lights, is solid white, and totally unoffensive.
I knew that with a couple of tweaks I could make it great.
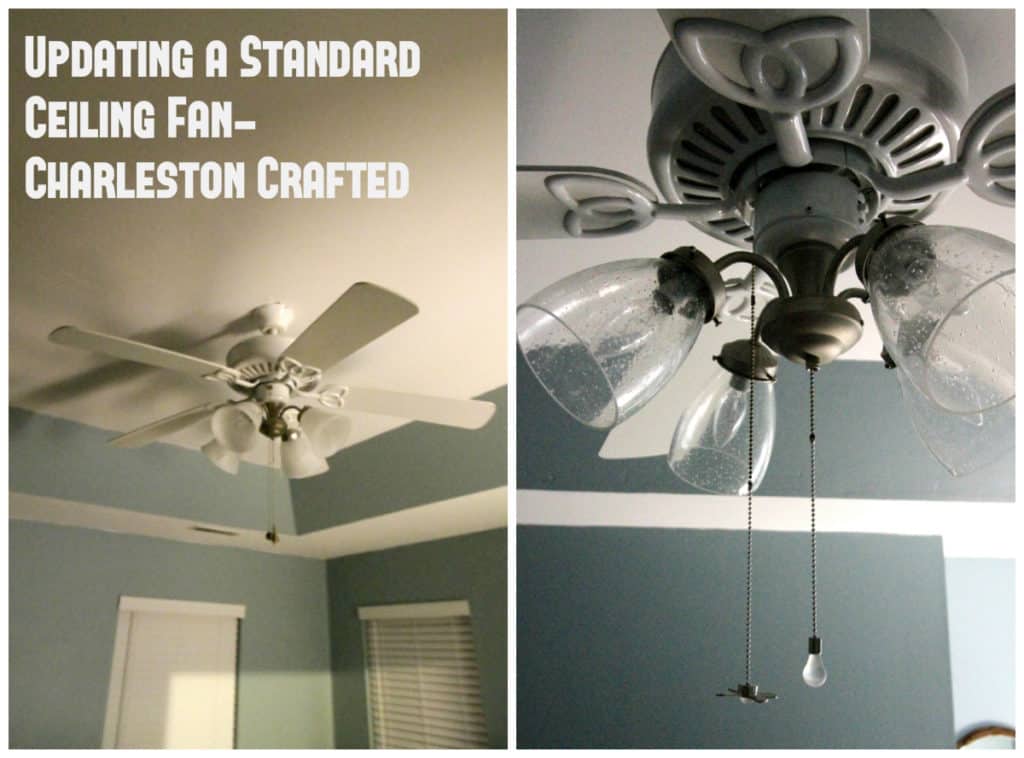
Updating a Ceiling Fan without replacing it
The easy way to update your ceiling fan is to just replace it with something totally new that completely fits your style.
However, a new ceiling fan can be quite pricey and that isn't always the best option.
There are several ways that you can modernize and update your existing ceiling fan for a much lower cost.
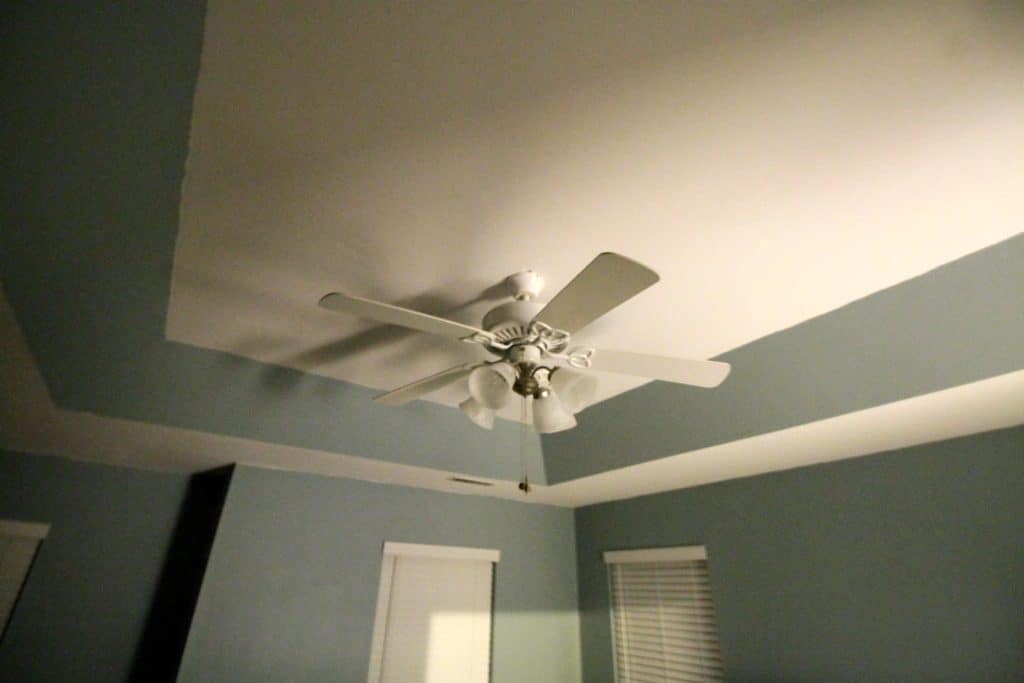
Change out the pull chains
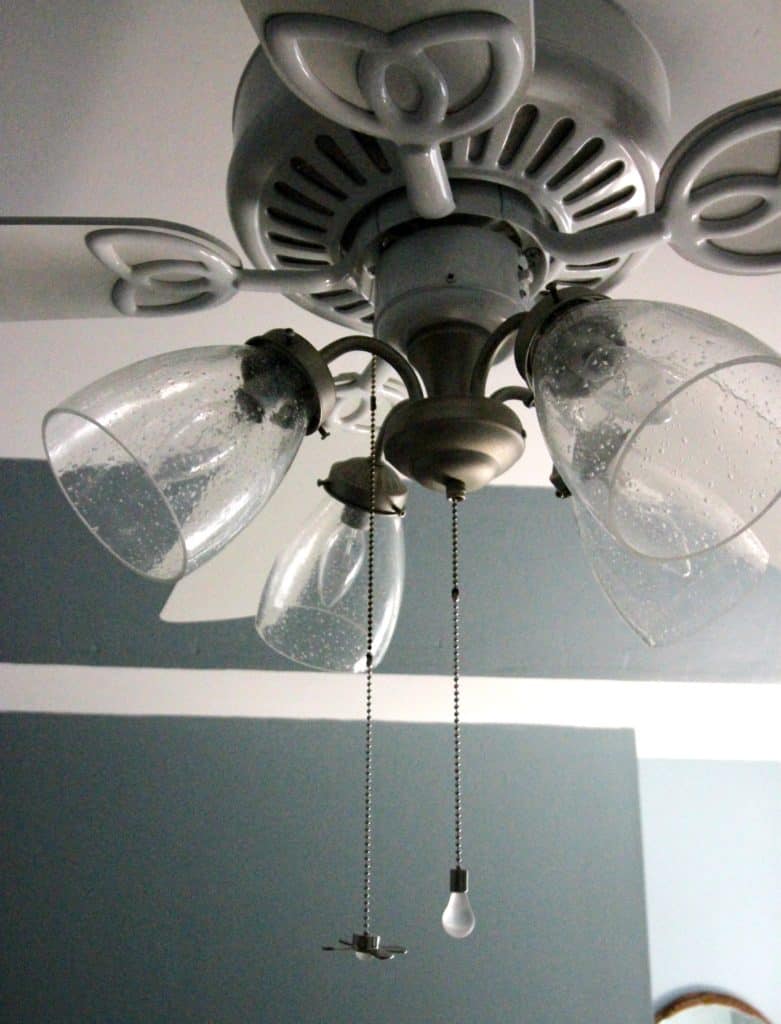
The first thing that I wanted to replace was the pull chains.
Many modern ceiling fans don't even have pull chains but use a remote instead. Dated chains can really date a fan!
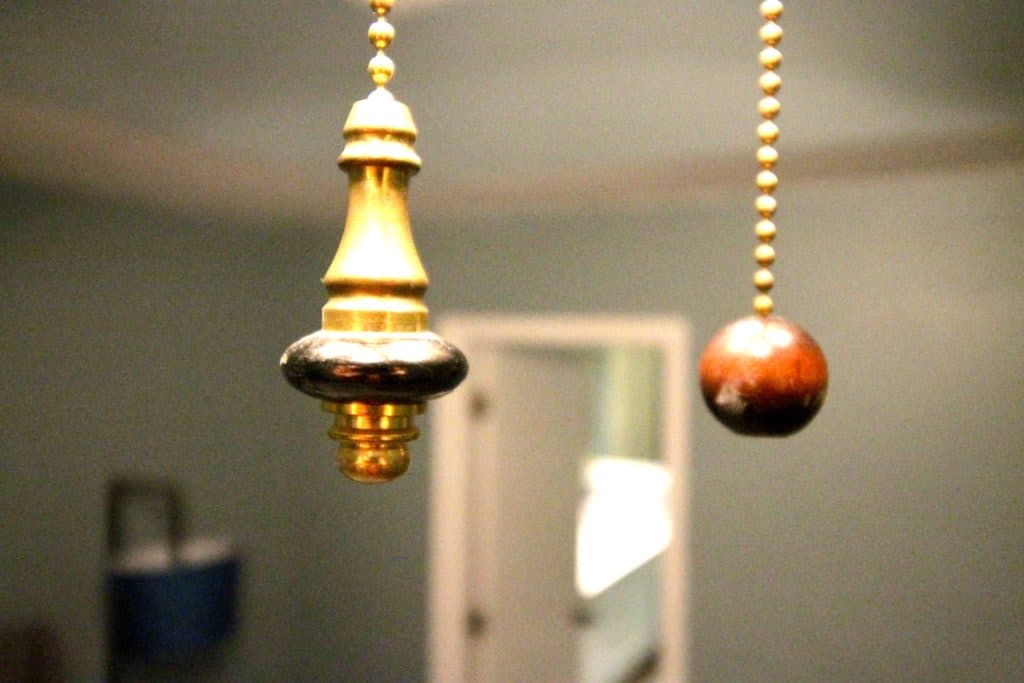
Like the ones we use today in our new living room!
For some reason the pull chains on this fan were brass! The part that connects to the fan is silver/chrome, but the end is brass.
I guess that the ones that came with it were too short and the previous owner swapped in some pulls from another fan?
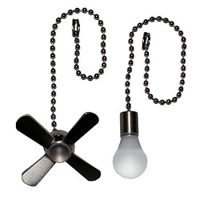
That's just a guess. I ordered these new pulls. They are slightly silly because the bulb side is for the light and the fan for the fan.
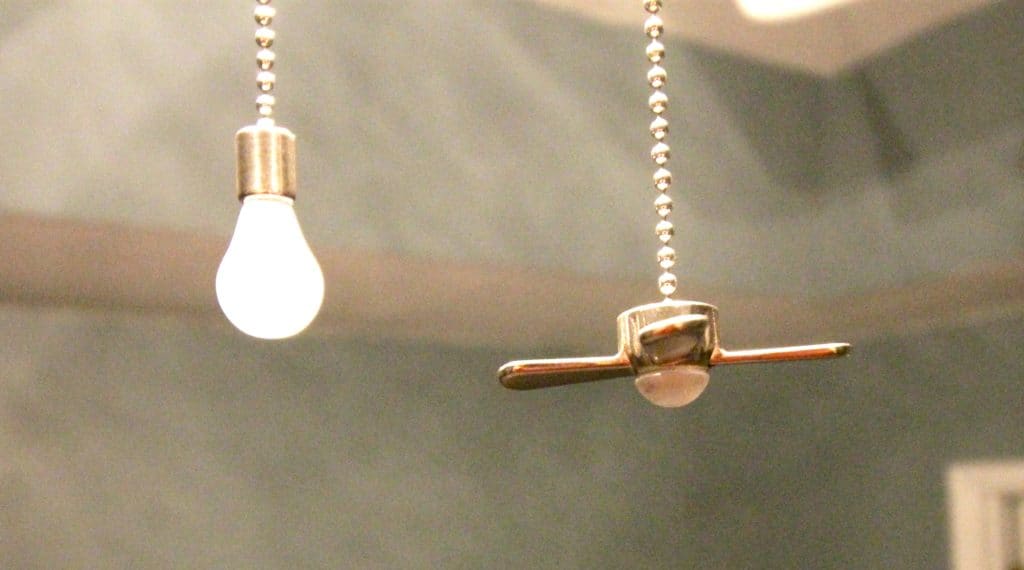
But they are chrome and white and I think rather neutral looking from afar.
Plus I can never remember which one is the fan and which is the light so this is dummy-proof.
Update the glass shades
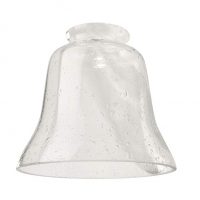
I also wanted to update the marbled-glass light shade covers with something more current.
We chose seeded glass covers to tie in with the seeded glass knobs and light fixtures in the master bathroom.
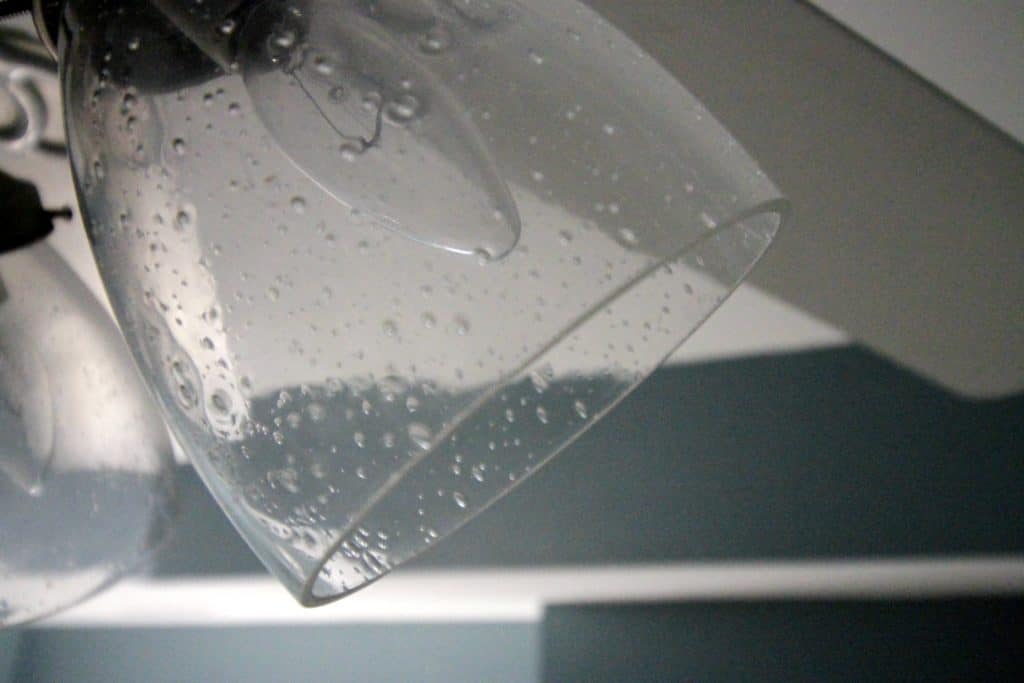
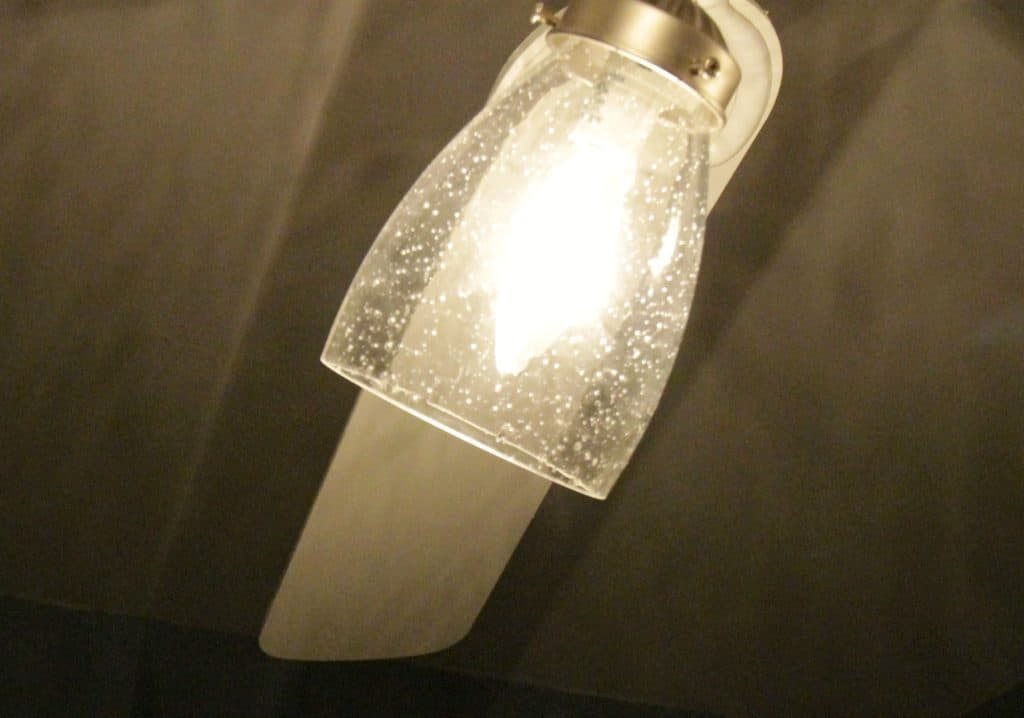
Plus I really love the spray of light the seeds in the glass put off on the ceiling when it's lit!
Clean the fan
Finally, I used a rag to wipe down the front and back of the fan blades.
I should really do this more often! It looked much better after a little bath.
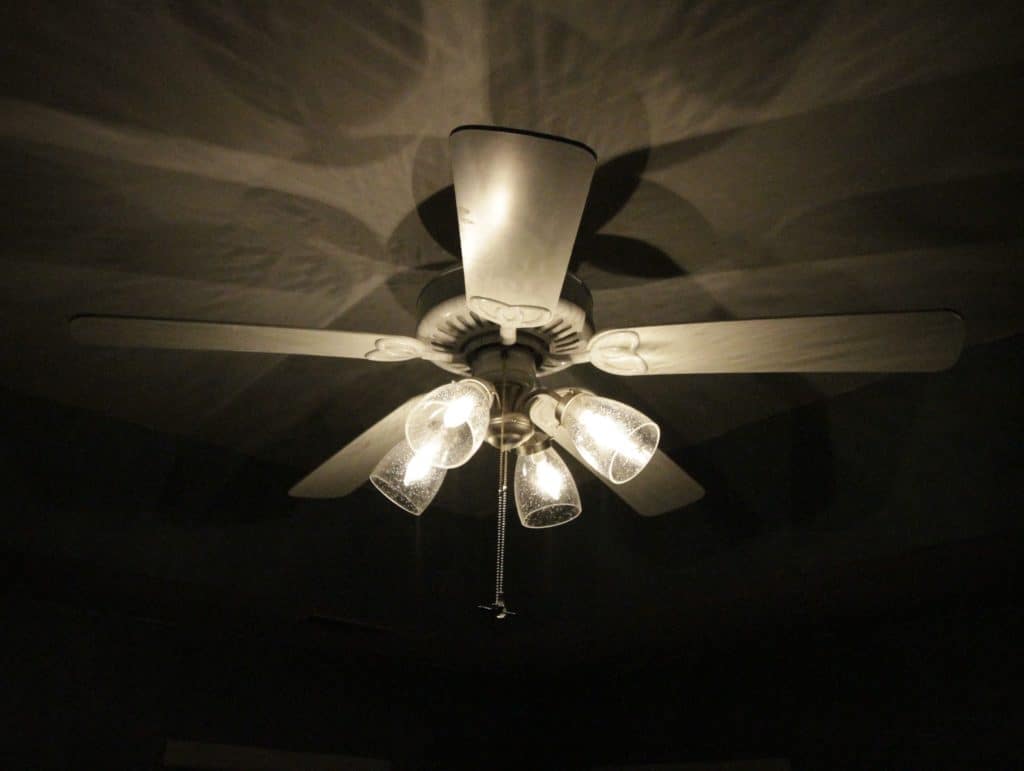
I love the final look and love that it was a super inexpensive way to make this functional fan more our style.
Here are some more ideas for modernizing a ceiling fan:
- If you don't like the color of the metal, you can spray paint it! Remove the blades by unscrewing them and tape cardboard over the ceiling to protect it from overspray.
- Paint the blades! Most blades unscrew from the top. Pull them down and paint them with spray paint or a roller. A fresh coat of paint can be transformative.
- Add a shade - hang a drum or cage shade over the light of the fan for a dramatic look.
- Cover the blades with contact paper for a patterned look like faux wood grain!
- Change the blades entirely - you can buy new ones at the hardware store and it's much less expensive than a new fan.
- Upgrade your light bulbs to LED for a better brightness and to save on your energy bill.
How to update a ceiling fan
Ceiling fans can be very necessary but they don't have to be ugly. Here is how to update an existing ceiling fan on a budget.
Materials
- New light covers
- New pulls
- Spray paint
Tools
- Cleaning cloth
Instructions
- Replace the pull cords with something that better coordinates with your style.
- Replace the glass light covers with something more trendy.
- Paint the metal portions with spray paint.
- Clean the blades well with a soft cloth.
Recommended Products
As an Amazon Associate and member of other affiliate programs, I earn from qualifying purchases.
Want to buy a new ceiling fan? I wrote a whole blog post about how to buy a stylish ceiling fan!
I want to hear how you feel about ceiling fans!
Looking for something?
We've been doing this since 2012 so we have a LOT of blog posts!
Search stuff like: Ceiling Projects | DIY Plant Stands | Thrift Flips


Hello, I'm Morgan, half of the creative force behind CharlestonCrafted.com! With a passion for DIY that dates back to 2012, I've transformed three homes and now I'm dedicated to helping others craft their dream spaces. Let's turn your house into a home together!



Amy says
It's amazing how small changes make a big difference! We don't have any ceiling fans in our house, but we make do with floor fans around the house. I feel like a ceiling fan has a lot more opportunity to be stylish that a floor fan. 🙂
Sean says
ha! I have a floor fan too 🙂 Little to do to help those except try not to stretch the cord halfway across the room all day long. Thanks for stopping by!
melinda says
What color is the spray paint on the metal part?
Morgan says
Oil Rubbed Bronze!