Here's how to make a simple wooden sign out of bottle caps to spell the word BAR. This is a great wedding or party decor item!
Thanks to my bar sign, guests at the wedding will know exactly where the bar is. If it was hard to find before, just look for the giant bar sign made out of bottle caps.
I had this idea to create a cool bar sign that we could use for both the wedding and, eventually, my man cave (when I have one).

DIY bottle cap bar sign
The first decision was to choose what beers have a perfect mix of enjoyability (for me to drink while collecting them) and visibility for the actual sign.
We decided to go with Yuengling and Blue Moon. The caps were good colors without too much text that would distract from the overall readability of the sign. I spent a few months saving all of my bottle caps from those beers until I had more than enough for a sign.
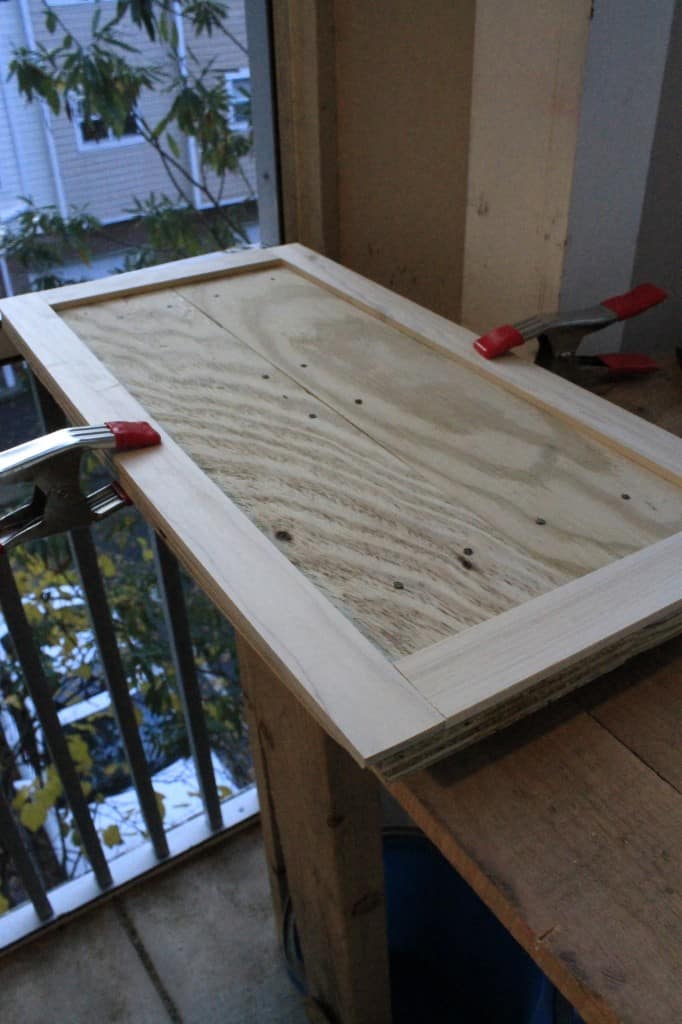
For the wood, I used all wood that was scrap or that I had found. The wood for the main backing was two pieces that were equal in size, together being approximately 2' x 1'. You could obviously use one piece of wood here, but at the time I was very cheap and used scraps where I could.
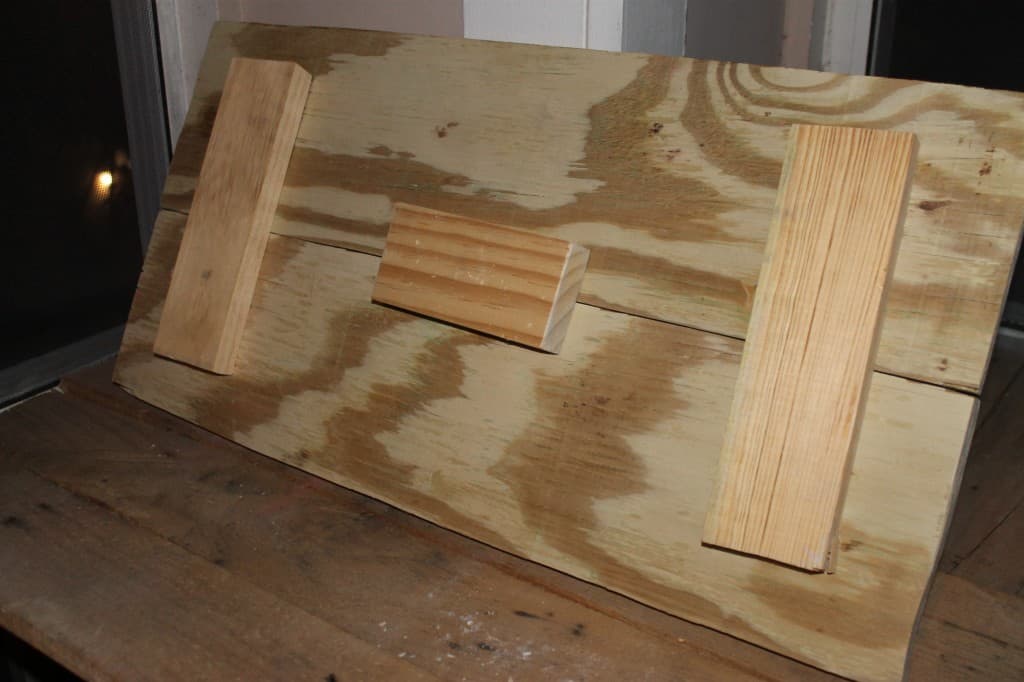
Step one: build backer
I sanded them down and attached them in the back with three small pieces of wood. I find wood on the side of the road all of the time, and if it looks like it's in good shape, I bring it home and store it in our shed. It pays off for projects like these!
Step two: add frame
Next up, I attached thin slats of wood, that were leftover from a long time ago when we made fake board and batten in our guest bathroom, to form a border.
I attached the slats with screws to make it look manly and rustic. However, I wish I had used wood glue, as I did later on another wedding project using the slats. The screws were a little harsh and cracked one of the slats because the wood was so thin, but oh well.
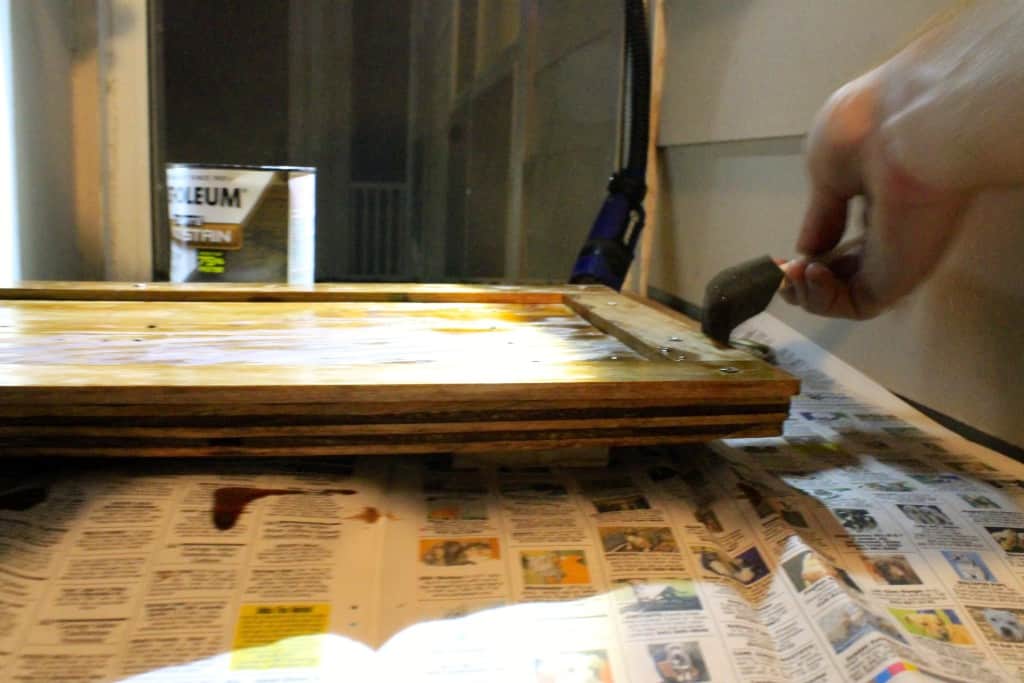
Step three: stain
Next up was staining the whole thing. I used Rust-Oleum Dark Walnut (the same color I used for all of our wedding wood projects).
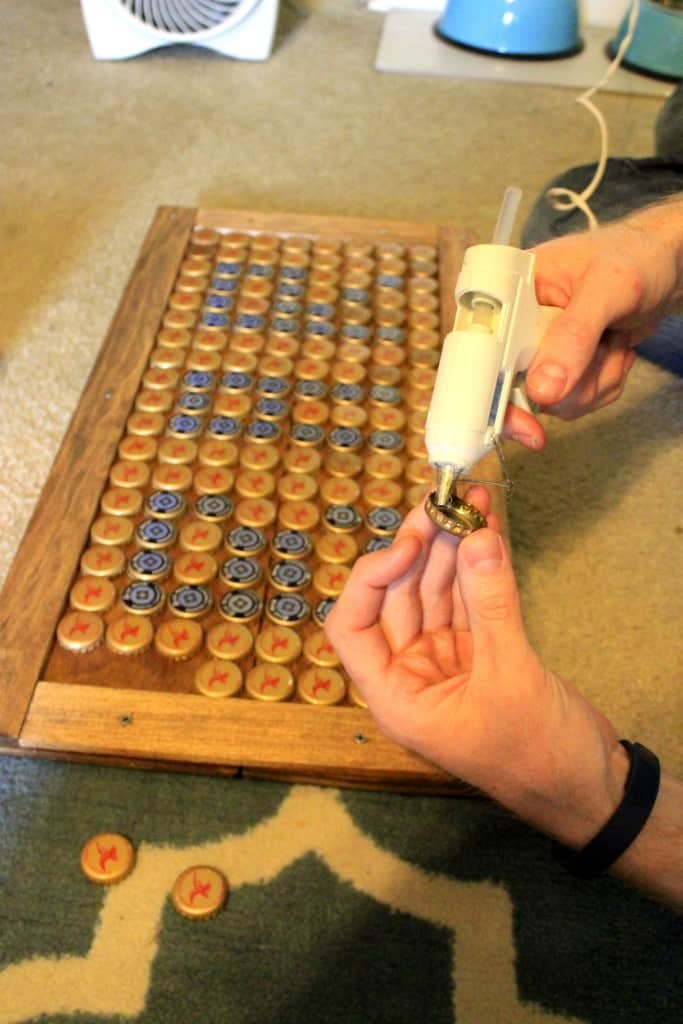
Step four: attach bottle caps
Then it was time to do the bottle caps. I placed every single cap in the perfect spot and made sure everything lined up before I glued anything down.

When I was ready, I removed each column one by one and glued them down with hot glue.
Step five: add base
In the end, I had to figure out how to display it, so I added two stained pieces of wood to the bottom to for an upside down "T" base so that it would stand up on it's own.
So that was how our guests found how to get a drink!

Looking for something?
We've been doing this since 2012 so we have a LOT of blog posts!
Search stuff like: Ceiling Projects | DIY Plant Stands | Thrift Flips

Hey there, I'm Sean, the woodworking enthusiast and builder behind CharlestonCrafted.com! Since 2012, I've been sharing the magic of turning raw materials into beautiful creations. I love teaching others the art and satisfaction of woodworking and DIY. I try to inspire fellow crafters to make something extraordinary out of nothing at all.