Trying to decide if you should use wood filler vs caulk? Let's talk about what each is and when to use them!
If you have a home project that looks unfinished, you might need to fill some gaps for a seamless look.
There are two popular products for filling gaps: wood filler and caulk.
Both of these products have distinct purposes and benefits. It's very important that you understand the differences, because they aren't really interchangeable.
In this post, we will explore wood filler and caulk to decide which is perfect for your project!
Click here for my full comparison of spackle vs wood filler vs caulk!
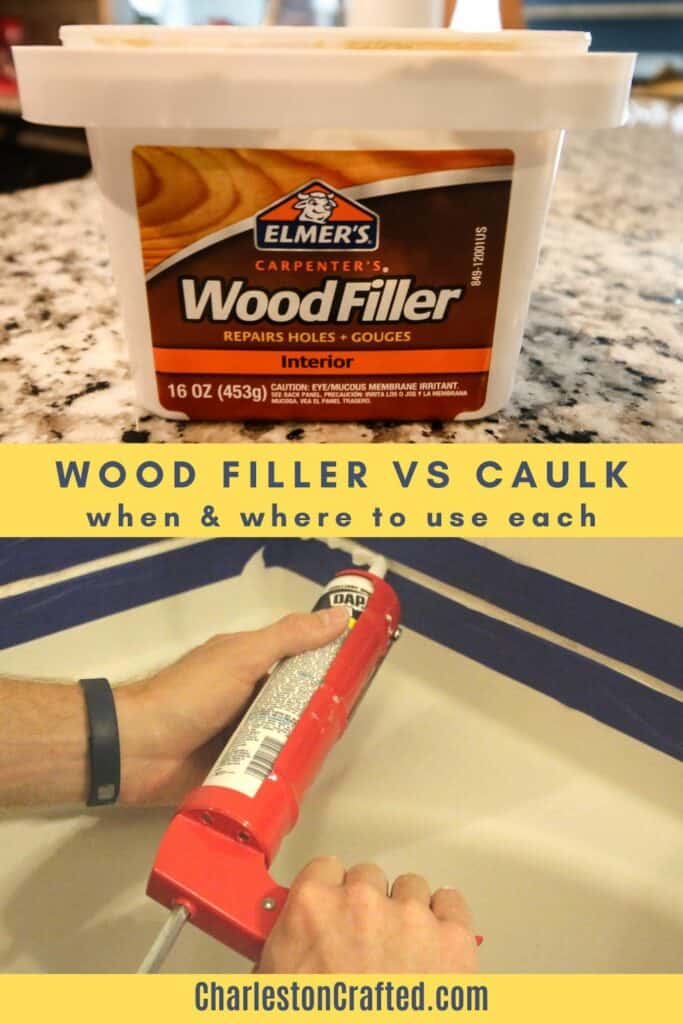
Understanding Wood Filler
Wood filler is a patching product that was designed specifically for wood surfaces. It is made from saw dust/tiny wood particles mixed with a binding agent: epoxy, latex, or cellulose.
Use wood filler to patch flat cracks or gaps in molding. The wood filler does a better job of smoothing flush because it is made to fill in flat gaps and joints on wood.
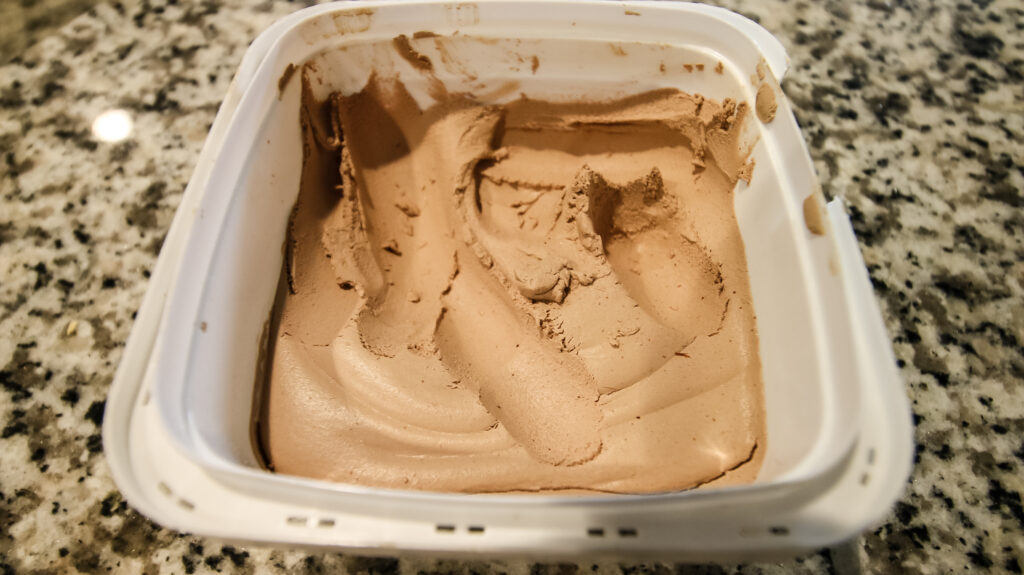
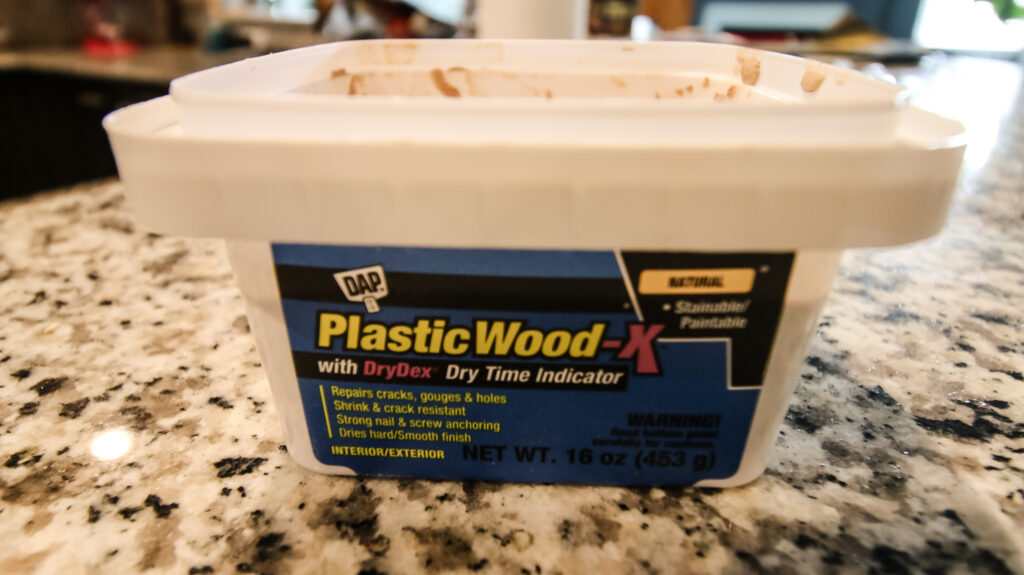
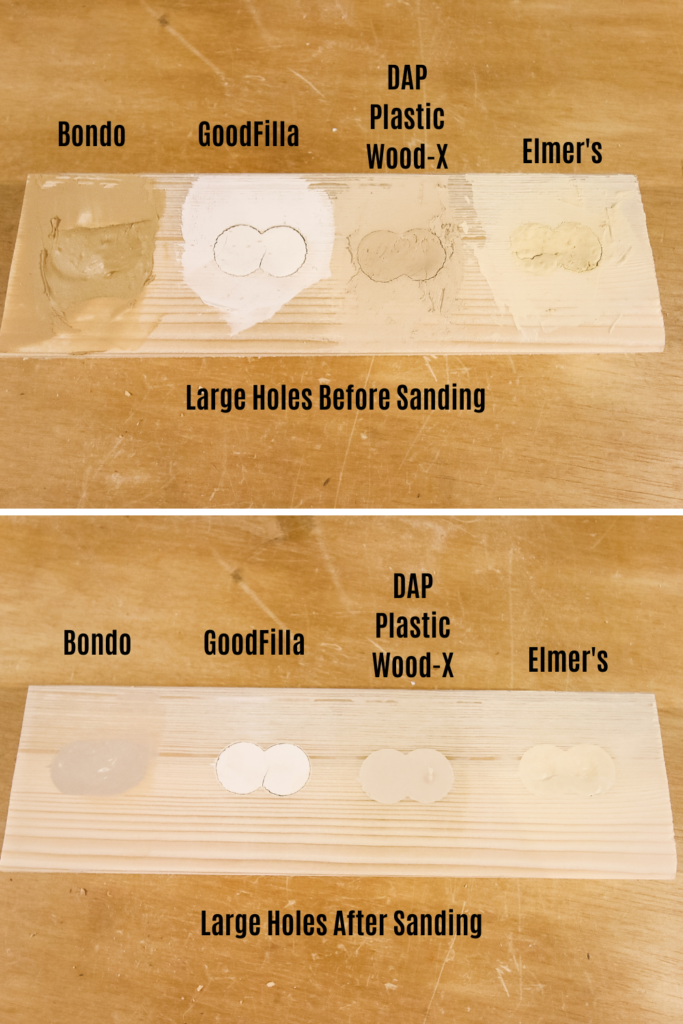
You can see our test + comparison of 4 popular wood filler brands here!
Benefits of Wood Filler
- Ideal for repairing cracks, dents, and gouges in wooden furniture, trim, and flooring.
- Provides a strong bond with wood and is less likely to shrink or crack over time.
- Can be sanded, stained, and painted to blend seamlessly with the surrounding wood.
Best uses of Wood Filler
- Filling deep holes and gaps in wooden surfaces.
- Restoring rotten or damaged wood.
- Preparing wooden surfaces for refinishing.
Types of Wood filler
- Water-Based Wood Fillers: easy to use, environmentally friendly, easy clean up, quick drying, low odor and low VOC
- Solvent-Based Wood Fillers: made with acetone or mineral spirits and very durable, longer dry time, can use outdoors.
- Wood Epoxy Fillers: two part system that has to be mixed. Very stinky. Long cure time. Very strong and weather proof once dry.
Wood filler drying + cure time
- Dry time varies by brand + specific product - always consult your can or bottle for proper dry time.
- In general, water based wood fillers dry quickly, solvent and epoxy based wood fillers dry slower.
- Temperature and humidity levels can effect dry time.
- Cure time is how long it takes wood filler to reach it's maximum hardness. Even if it is dry to the touch, it might not be fully cured.
- Water based fillers cure in a few hours, while others can take much longer. Check the back of the can and be sure your project is cured before handling it!
Understanding Caulk
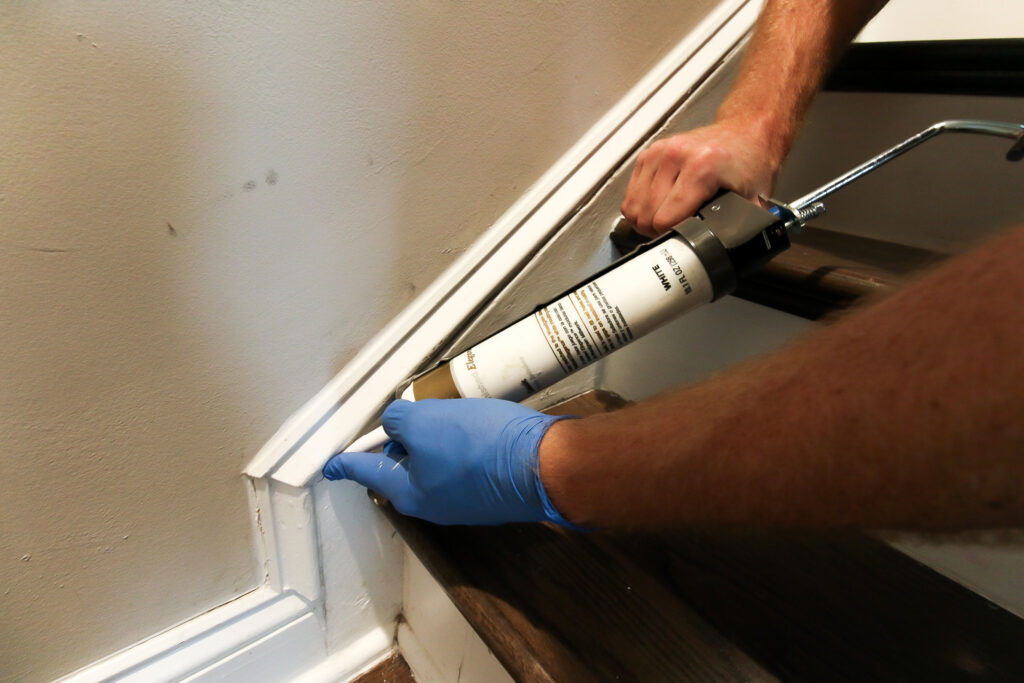
Caulk comes in an applicator tube and is a flexible, waterproof filler. It is made of silicone, latex or acrylic. It dries soft and flexible. Caulk can be used both indoors and out and in wet areas like bathrooms.
When should I use caulk?
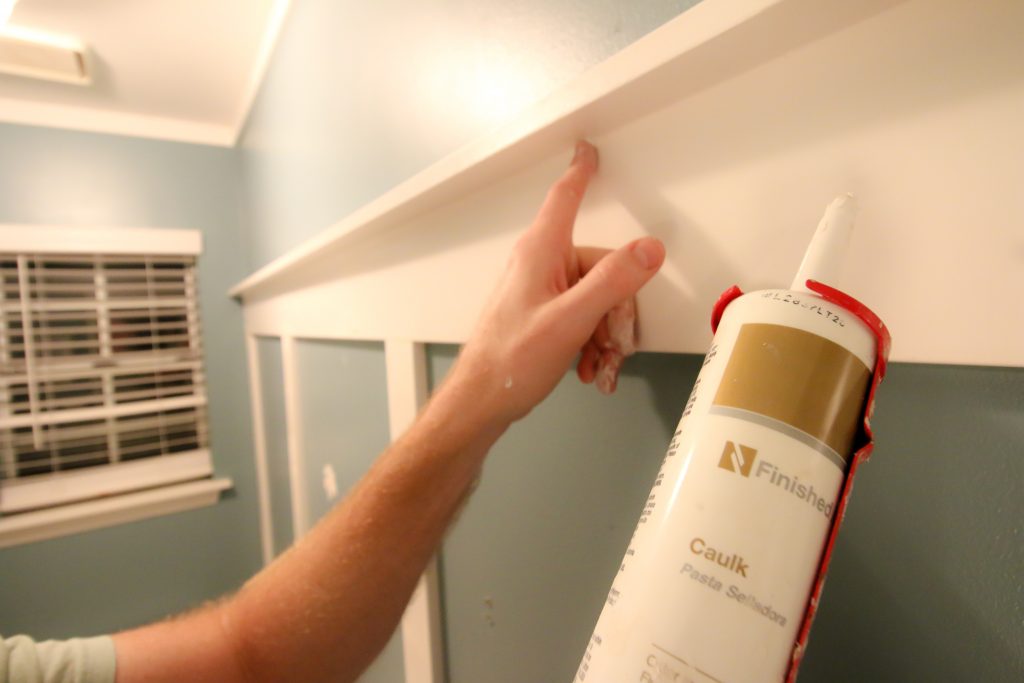
Caulk is designed to be used to fill gaps when joining two surfaces. It's great for filling small imperfections and making projects look seamless.
As my favorite DIY-saying goes, "do your best and caulk the rest!"
Caulk is not to be used for filling holes in surfaces like wood or drywall.
Caulk should be used when doing projects like installing crown molding. Installing crown molding will leave you with corners and gaps that need to be filled, and caulk does so seamlessly.
Benefits of caulk
- Excellent for sealing gaps and joints in non-wood materials, such as drywall, masonry, and metal.
- Provides a waterproof barrier, preventing water penetration and potential damage.
- Remains flexible after drying, allowing for slight movement without cracking.
Best uses of caulk
- Sealing gaps between walls and baseboards or crown molding.
- Filling gaps around windows and doors to improve energy efficiency.
- Waterproofing joints (like between tile and wall or bathtub and tile) in bathrooms and kitchens.
Types of caulk
- Silicone Caulk: can be used indoors or outdoors, waterproof, flexible, mildew resistant.
- Latex Caulk: easy clean up, paintable, versatile.
- Polyurethane Caulk: weather-resistant, best for outdoor projects
Caulk drying time
- Dry time will vary based on manufacturer and your specific product. Always check the tube for specific dry times!
- Caulks will often form a skin aka be dry on the surface before they are fully dry all the way through. Be sure they are fully dry before touching them!
What are the differences between wood filler and caulk?
There are a few major differences between wood filler and caulk!
Purpose of design
Wood filler is designed to fill holes and cracks in wood. Caulk is designed to seal gaps and joints in any material.
Wood filler might not adhere properly to non-wood surfaces. Caulk is designed to adhere to many different surfaces.
Flexibility
Caulk is soft and flexible. It can deal with swelling and other gentle movement without cracking or breaking.
On the other hand, wood filler dried hard and rigid and does not handle movement well. It either won't bend or will crack under the pressure.
Waterproofing
Caulk is designed to provide a waterproof seal and is perfect for areas with high moisture, like a bathroom.
Wood filler is not designed to be waterproof (except outdoor wood fillers) and can get damaged by moisture.
Choosing the Right Product for Your Project
The right product for your repair job depends highly on the surface that you are repairing.
Wood Surfaces
If you are repairing a wood surface - cracks, holes, or any other imperfection - you are going to want to use wood filler.
Wood filler is made from sawdust and designed to blend wood pieces seamlessly together.
If you want to seal gaps between wood and adjacent non-wood surfaces (like drywall) then caulk is your best bet.
Should you use wood filler or caulk on trim?
You should use wood filler on the flat surfaces of trim - such as where 2 boards meet - but caulk on the lines between the trim and the drywall.
Non-Wood Surfaces
If you need to seal up small gaps or joints in non-wood materials like drywall, metal, or masonry, you will want to use caulk.
Avoid using wood filler on non-wood materials. It is designed to work on wood and may not adhere properly on other materials.
Plus, wood filler lacks flexibility - it's super hard - and is likely to crack on flexible surfaces, including walls.
Application Tips
Here are some application tips for both wood filler + caulk.
Wood Filler
- Clean the surface thoroughly before applying.
- Press the filler firmly into the hole or crack and ensure it is level with the surrounding area.
- Sand the dried filler carefully to achieve a smooth finish.
Caulk
- Clean the area to be caulked and remove any debris.
- Apply the caulk using a caulk gun, ensuring an even bead along the gap or joint.
- Use a caulk smoothing tool or your finger to create a neat finish.
Any more questions about wood filler vs caulk?
Looking for something?
We've been doing this since 2012 so we have a LOT of blog posts!
Search stuff like: Ceiling Projects | DIY Plant Stands | Thrift Flips


Hello, I'm Morgan, half of the creative force behind CharlestonCrafted.com! With a passion for DIY that dates back to 2012, I've transformed three homes and now I'm dedicated to helping others craft their dream spaces. Let's turn your house into a home together!


