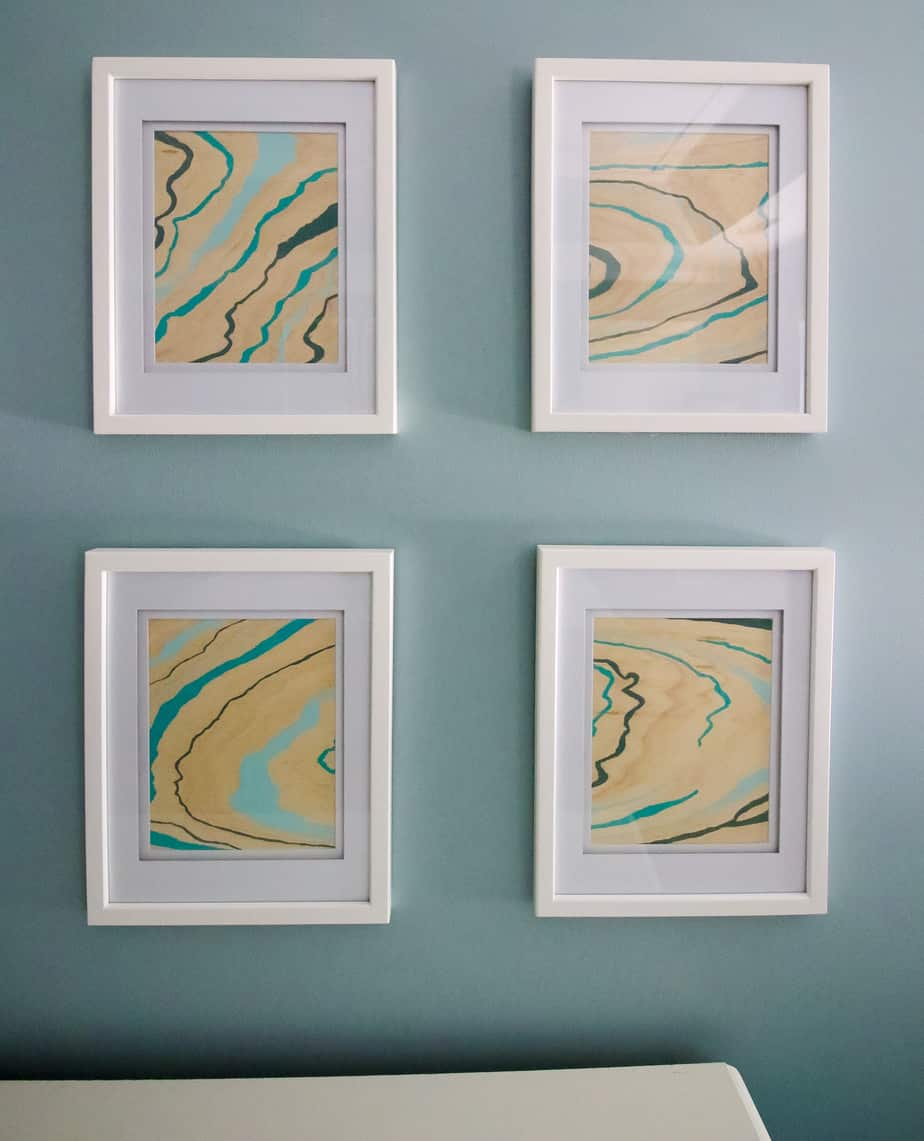
Art is one of those things that can really elevate a space. However, it can get really expensive. I am all about valuing artist's talents, but sometimes that's just not in the budget. I love creating DIY art for my home as a budget friendly, beautiful decor option.
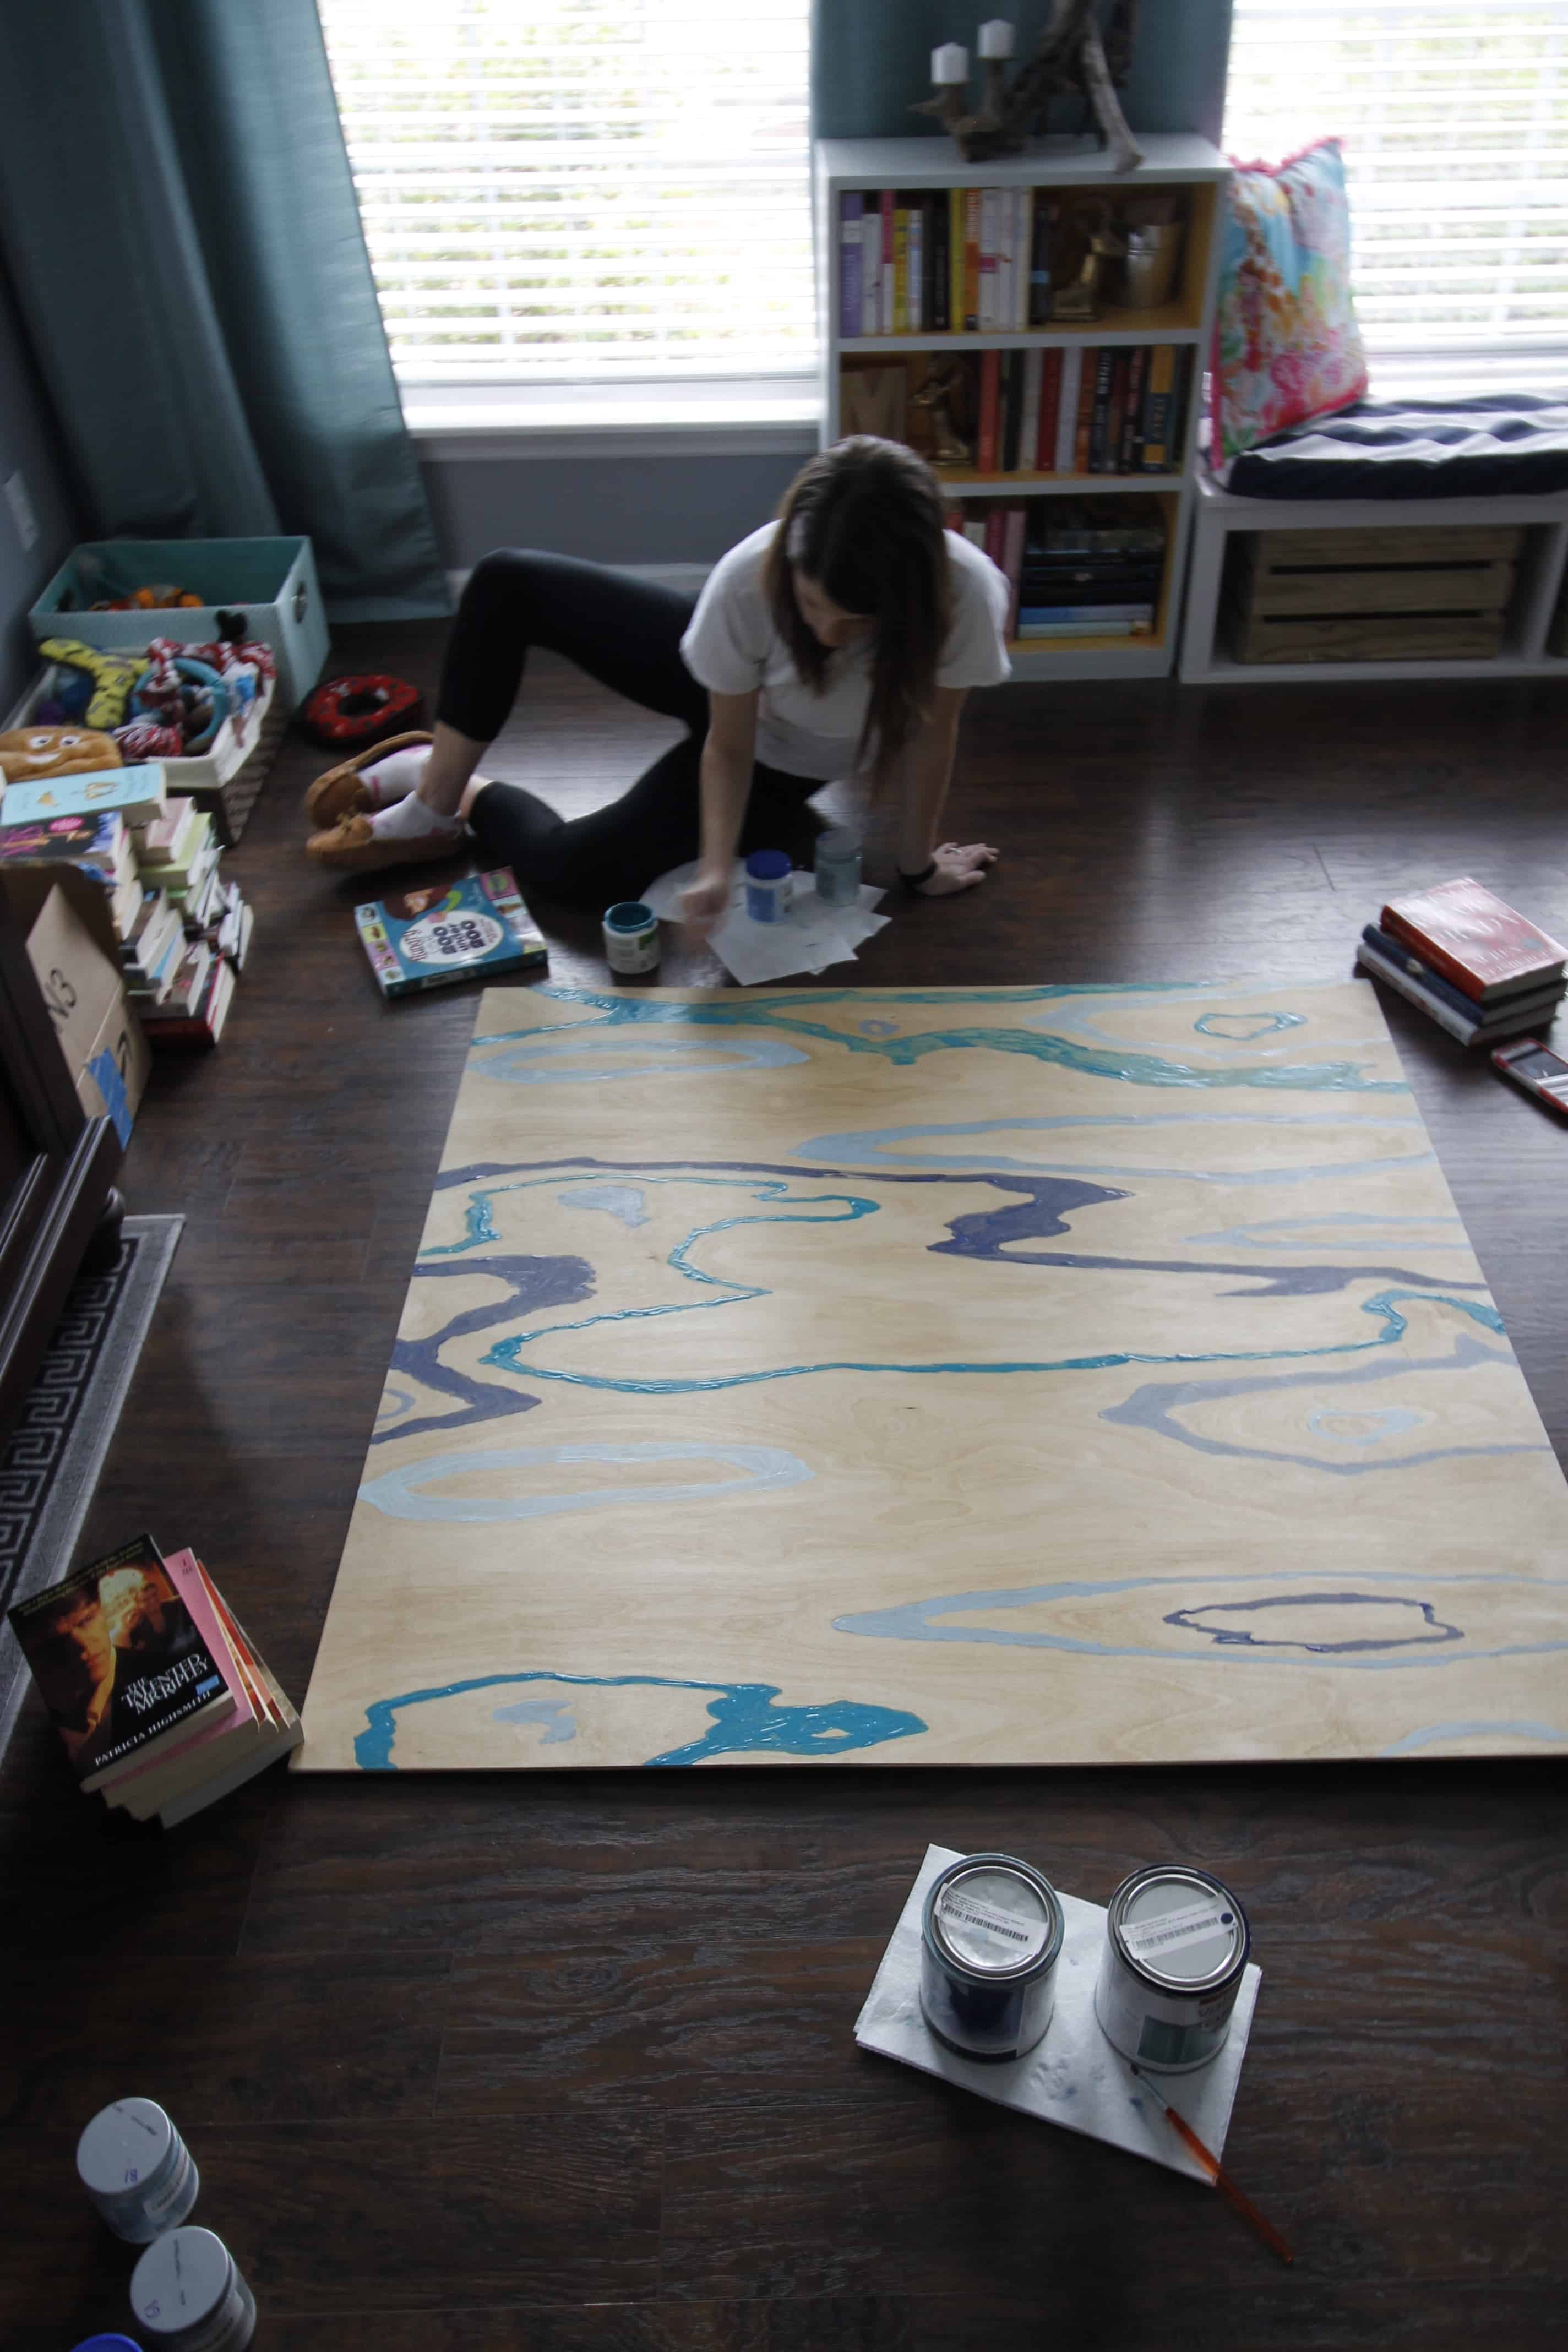
I shared a huge (4 foot by 4 foot) painting that I did using this technique for our kitchen a few years ago. We have gotten so many questions about it, I decided to create a how-to and a video instruction for you here today.
What plywood to use
I created 4 smaller 8x10 inch plywood grain paintings to create this series.
You can use plywood of any thickness, size, and species for this painted wood grain project.
The most budget friendly way to do this is to use ¼" thick plywood. The sheets are 2'x2', 2'x4', and 4'x4' at your big box store hardware stores like Lowe's and Home Depot.
There are usually a few species to check out - some are more expensive than others. I like to use birch because of the interesting grain lines. I suggest that you pull out every single piece (my store usually has 5-10 in each size). Examine the grain and find one that really inspires you.
You can order birch plywood on Amazon - you just won't get to pick out the grain yourself. Maybe order a few and then return what you don't use?
How to prepare the plywood
You can have the hardware store cut the wood for you if you don't have a saw. I cut mine at home using our circular saw.
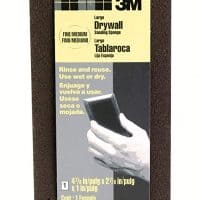
Then, you are going to want to sand your edges really well. I used an electric sander, but you can also use a sanding block.
Now, I want you to sit down ready to paint. Look at your wood. Feel the movement in the grain. Let it speak to you. I know, it sounds silly, but you really want to work with the wood, not against it.
How to make the wood grain painting
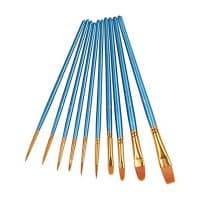
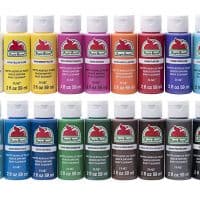
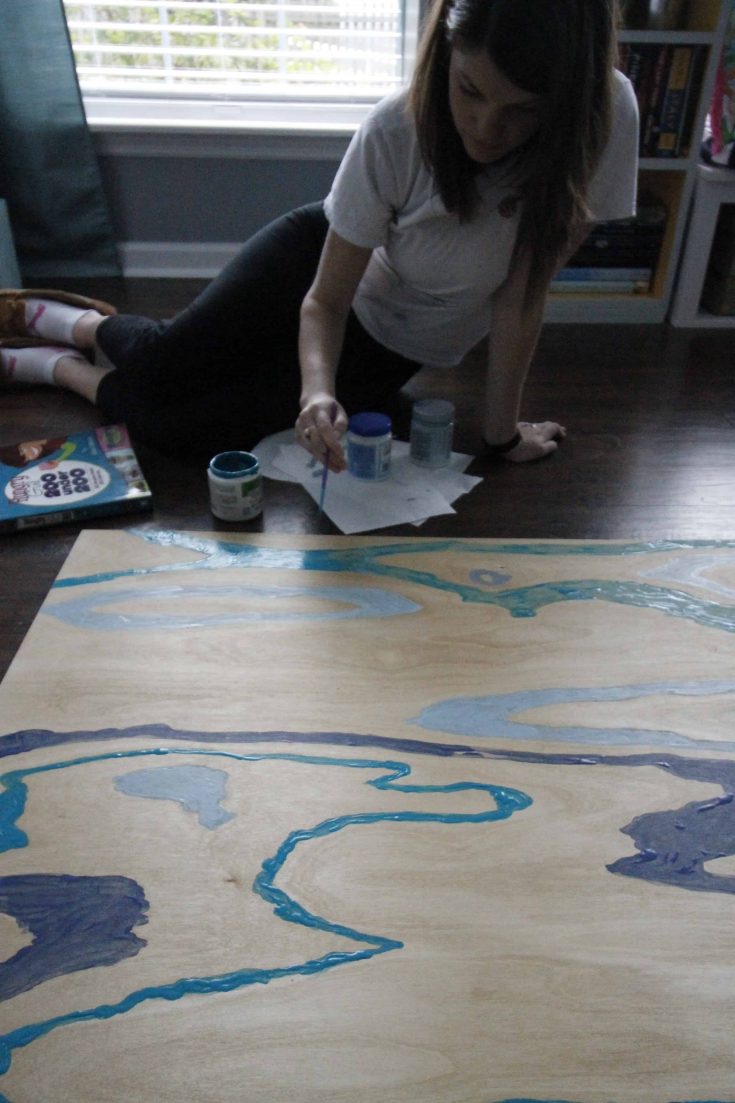
I like to use simple craft brushes and acrylic paint, which makes this a really affordable project.
Read about my favorite blue gray paint colors!
For a smaller canvas, work with 3 colors to keep it from looking too busy. Larger canvases can go up to 5 colors.
Pick an interesting grain and paint along it. Feel the movement as you paint - no straight lines!
Make some lines thicker than others. You can even paint 2 parallel grains and fill in between them.
Remember to leave lots of plain wood. The paint should highlight the beauty of the wood, not cover it.
Hot tip - if you accidentally smudge or mess up, you can always create a fake grain line to cover it up. Not ideal, but I did it on one of these (I put my hand right on wet paint and smudged it!) and you can't tell.
You can either mount the wood to the wall like we did in our kitchen or frame them. Or hang them like we did this sign in Luke's room! There are so many options.
I actually have listed these four paintings on Etsy. You can find them here! I also have the option to buy a digital download printable copy of them - so you can print the whole set off and frame them for your home instantly!
Making this video was really fun - I felt like Bob Ross! I hope that you enjoy it.
How to paint wood grain art
Wood grain art makes a big statement but doesn't require any special artistic skills. Here is how to make it!
Materials
- Plywood cut to size of choice
- Paint
Tools
- Paint brush
Instructions
- Select beautiful plywood with an interesting grain.
- Cut your plywood to size and sand the edges well.
- Select 3 coordinating colors of paint to paint with.
- Start with your primary color. Select an interesting grain on the wood and paint along it.
- Repeat for at least 3 grains per color.
- You can also pick 2 parallel grains and paint in between them for a thicker look.
- Allow to dry and hang as desired.
Recommended Products
As an Amazon Associate and member of other affiliate programs, I earn from qualifying purchases.
 |
|||
 |
 |
 |
 |

Hello, I'm Morgan, half of the creative force behind CharlestonCrafted.com! With a passion for DIY that dates back to 2012, I've transformed three homes and now I'm dedicated to helping others craft their dream spaces. Let's turn your house into a home together!

