Little different kind of post today. Today we're talking about our plan for our upcoming garage organization and workshop build!
We've been living in our house for almost 10 months now (crazy) and the last room we've done nothing to is the garage.
As a recap, we have a raised house with our garage and workshop underneath the house. This is a massive upgrade for us from our past house and our garage/workshop we had there.
The garage here serves a few purposes
- Workshop
- Household storage
- Recreational storage
- Golf cart parking
Some of what has made this plan tricky is the existence of all the cement columns that are holding up the house. It means we have to work around that.
Here's a look at our plan for how we're going up-fit the garage.
Workshop Plan
Here's a look at the workshop now.
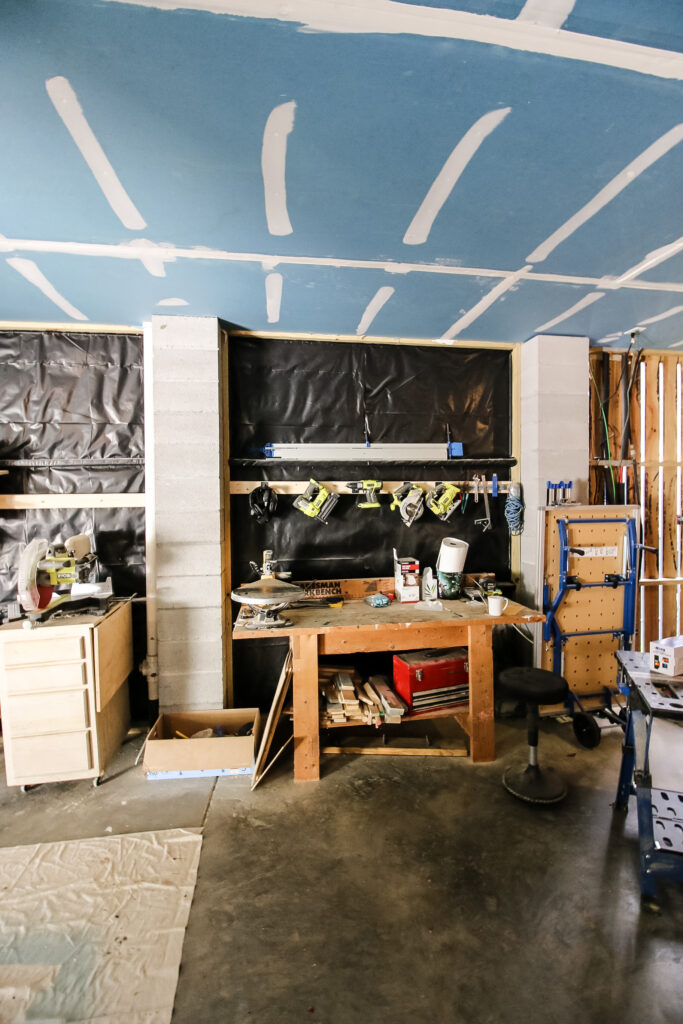
Basically, we shoved in the old (too small) workbench and stuck our saws next to it. Literally hand tools are still in a box.
We did a mini functional makeover a couple of months ago and got some hooks to hang our frequently used power tools on and got the yard tools and bikes up off the ground. It was temporary, but there's still some really good tips in there.
So the plan here is to make a functional workspace that will allow for a big work surface, functional storage and a good filming backdrop for photos and videos of projects.
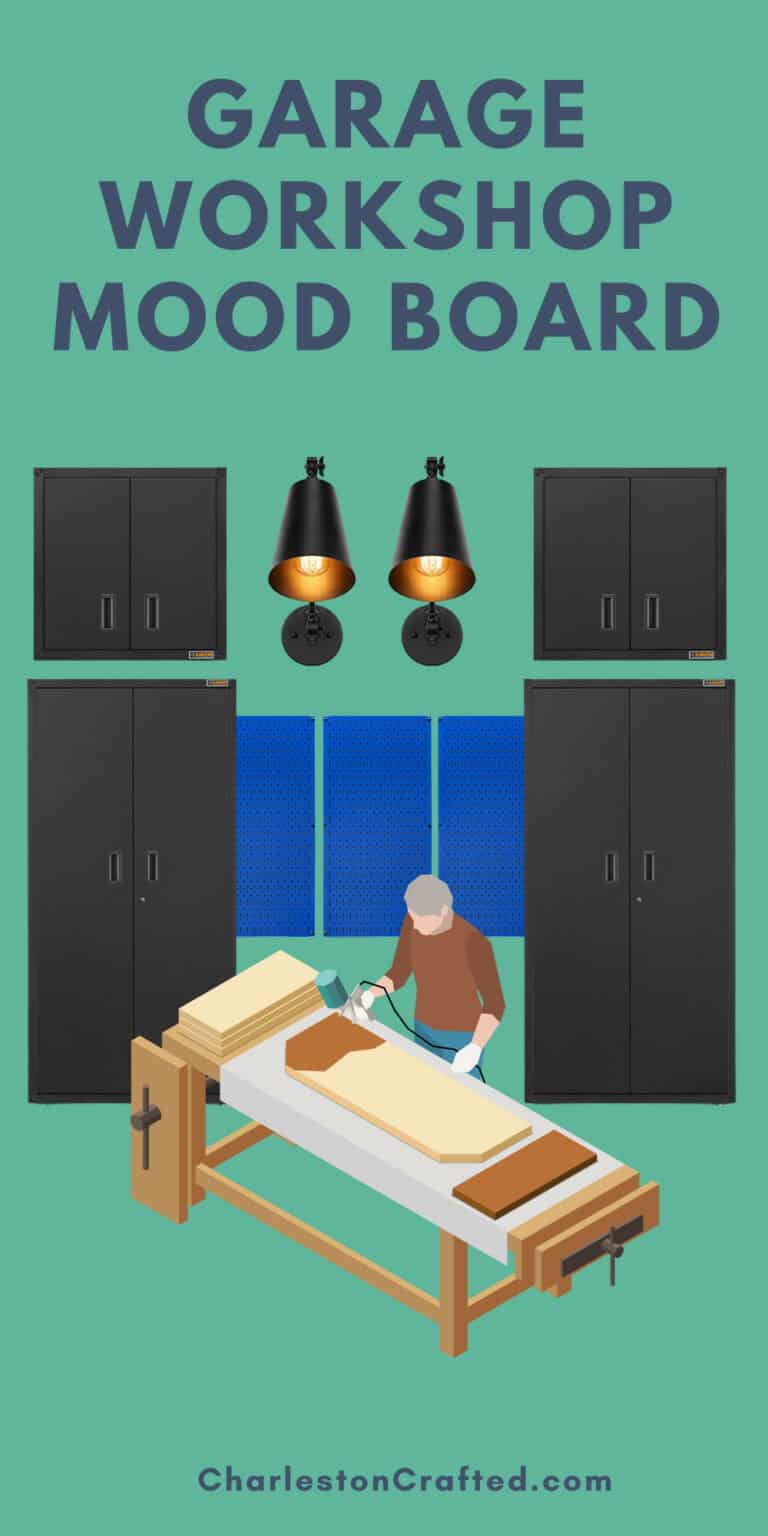
Here's the projects we're going to tackle:
- Build a new workbench
- Build new miter saw and scroll saw stands
- Get ample storage cabinets
- Prominently hang tools for easy access
- Add lighting
- Clean up loose items
This is going to be a doozy and we can't wait to share it all with you!
Garage Organization
I can't stress to you the importance of going vertical in a garage with your storage. At our old house, we even went vertical with our scrap wood storage.
Most of our tools and frequently used items will be going in the cabinets in the workshop area.
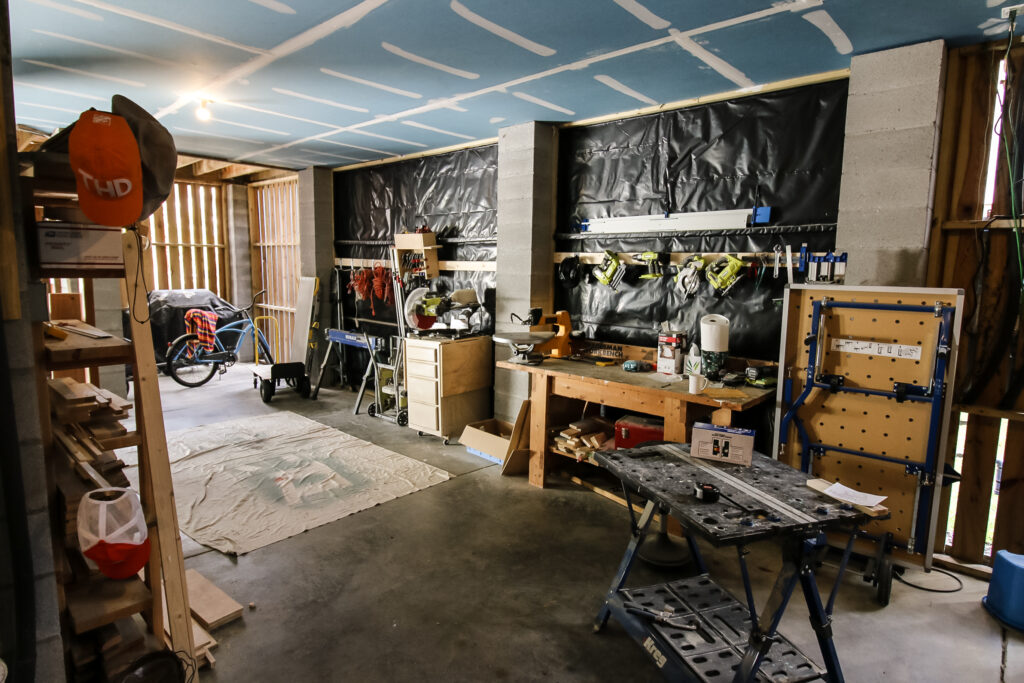
Here's how it looks now.

For the back corner of the garage, we'll be utilizing the heavy duty metal shelving we already have to store everything else.
On one shelf, this will include lesser used tools and larger items that can't go in a cabinet. On the other shelves, we'll be putting our household storage, like bulk food, extra decor, etc.
A couple of months ago, we installed a ceiling hanging storage unit in this area for all of our Christmas decor. It has been a lifesaver already.
Recreational Storage
The area under our stairs is going to become our recreational storage area. We have three pools in our neighborhood and live near the beach. Plus we have a beautiful backyard and an active child.
Here's the current situation.
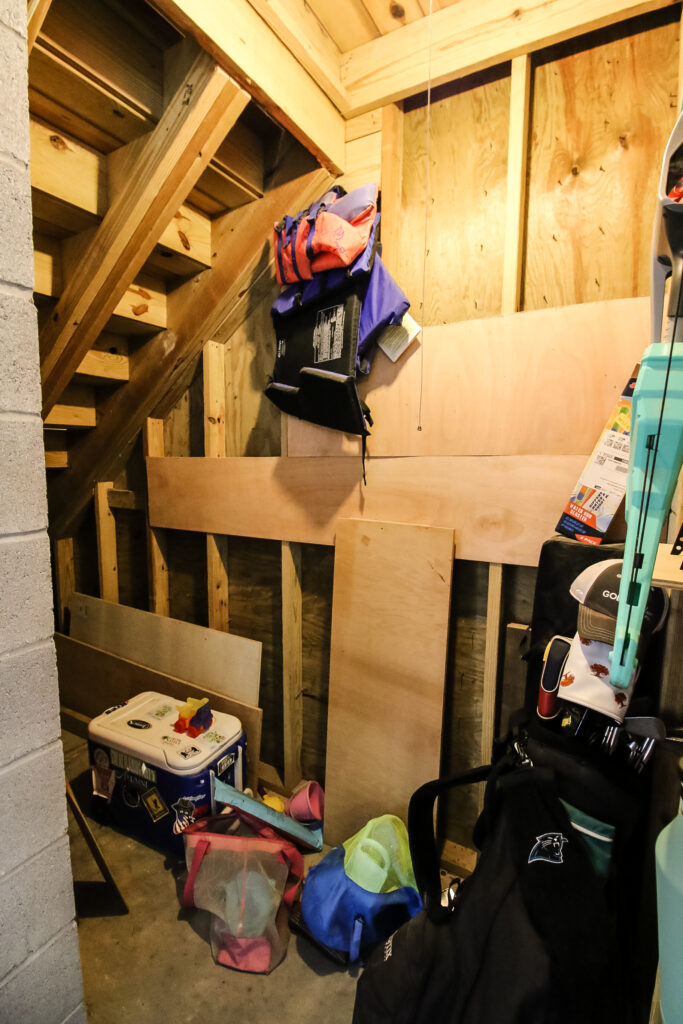
So under here we're going to move the plastic storage shelf that currently has our bulk food and use that to try to organize some toys.
We're also going to move in our shoe rack and a sports storage bench under this area to increase the capacity.
The shoe rack and storage bench have to go because we're planning to create a gorgeous filming wall between two columns here. Here's what I'm talking about.
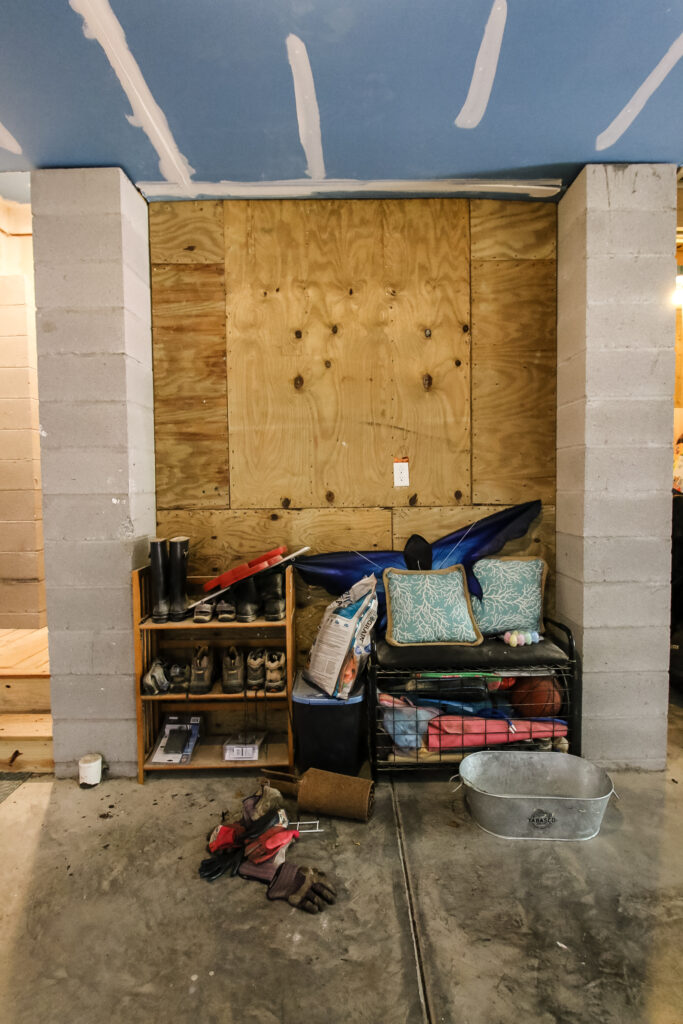
Right now, there is just ugly exposed wood that is made up of about 17 different pieces of particle board. I have no idea why the builders left this so ugly, but we're going to fix it.
The plan is to cover the entire area with some sort of reclaimed planks and add lighting that will make it so we can take finished photos of builds and crafts or just use it to film process photos. Hopefully, it will create a cleaner background.
So yeah, that's the plan! Stay tuned over the next month or so and see how it turns out!

Looking for something?
We've been doing this since 2012 so we have a LOT of blog posts!
Search stuff like: Ceiling Projects | DIY Plant Stands | Thrift Flips

Hey there, I'm Sean, the woodworking enthusiast and builder behind CharlestonCrafted.com! Since 2012, I've been sharing the magic of turning raw materials into beautiful creations. I love teaching others the art and satisfaction of woodworking and DIY. I try to inspire fellow crafters to make something extraordinary out of nothing at all.